Files Introduction
Zettlab's Files App differs significantly from competitors. We try to ensure that after users upload data, the built-in AI engine starts working in the background, processing the audio, video, images, documents, and other information you've uploaded. Of course, you can set whether to enable AI and when AI should work in Settings. For the working principle of the AI engine, see "7. Appendix"
Interface Overview
In Files, you can easily manage, preview, and share all files stored in the NAS. The Files interface consists of the left directory bar, top toolbar, and the main display panel, where you can perform all file operations in these areas. 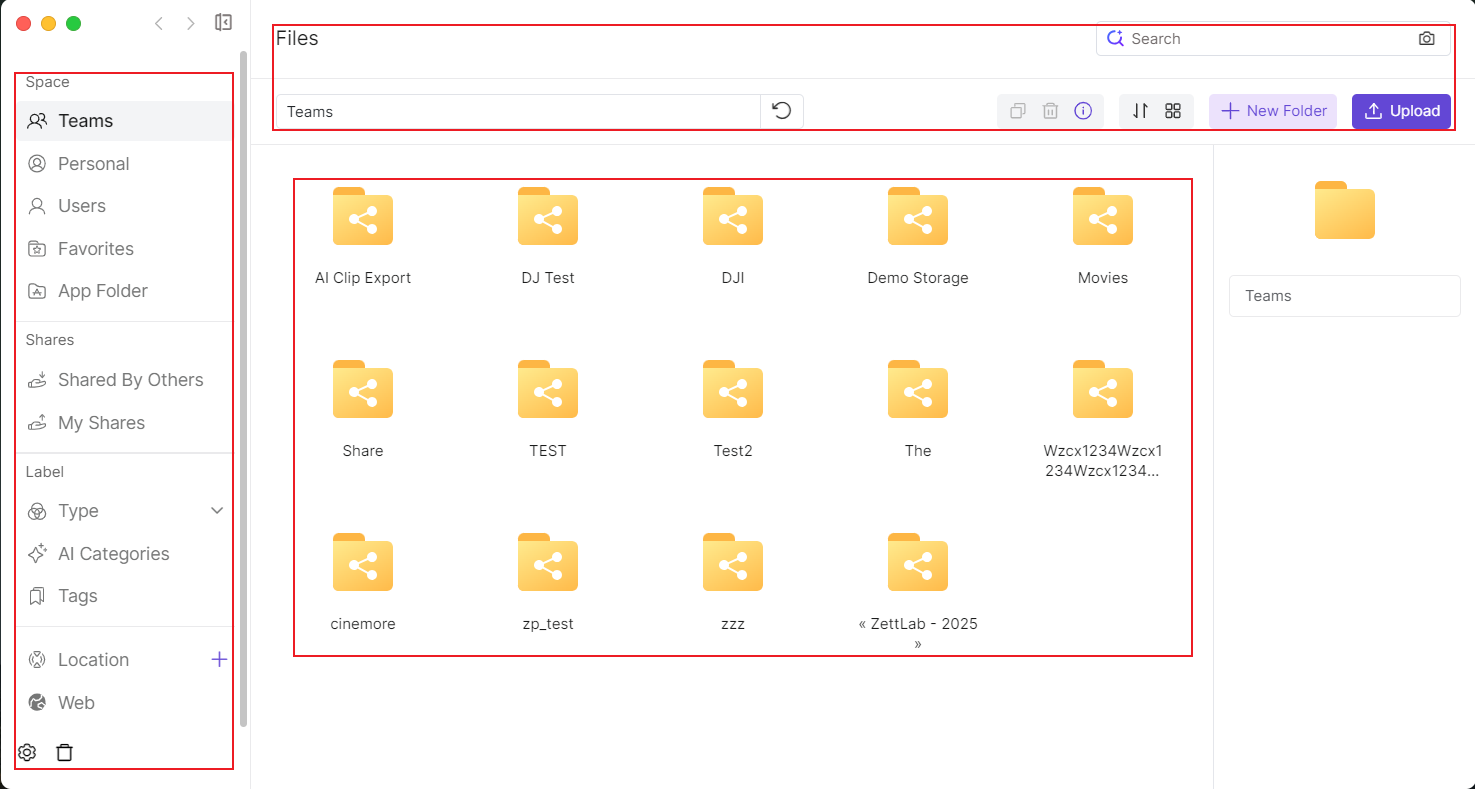
File Directory
The file directory includes five sections: Space, Sharings, Label, Location, and Web. 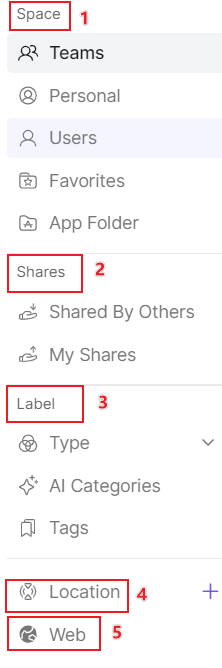
Space
- Teams: Public space, displaying team-shared folders. Only administrators can manage, regular users can view or read/write after authorization.
- Personal: Personal space, the usage space for the account owner.
- Users: (Visible only to administrators) Displays personal folders of all users.
- Favorites: Displays files or folders favorited by each user.
- App Folder: (Visible only to administrators) Displays folders mounted by NAS downloaded APPs, used to save data generated by corresponding APPs.
Sharings
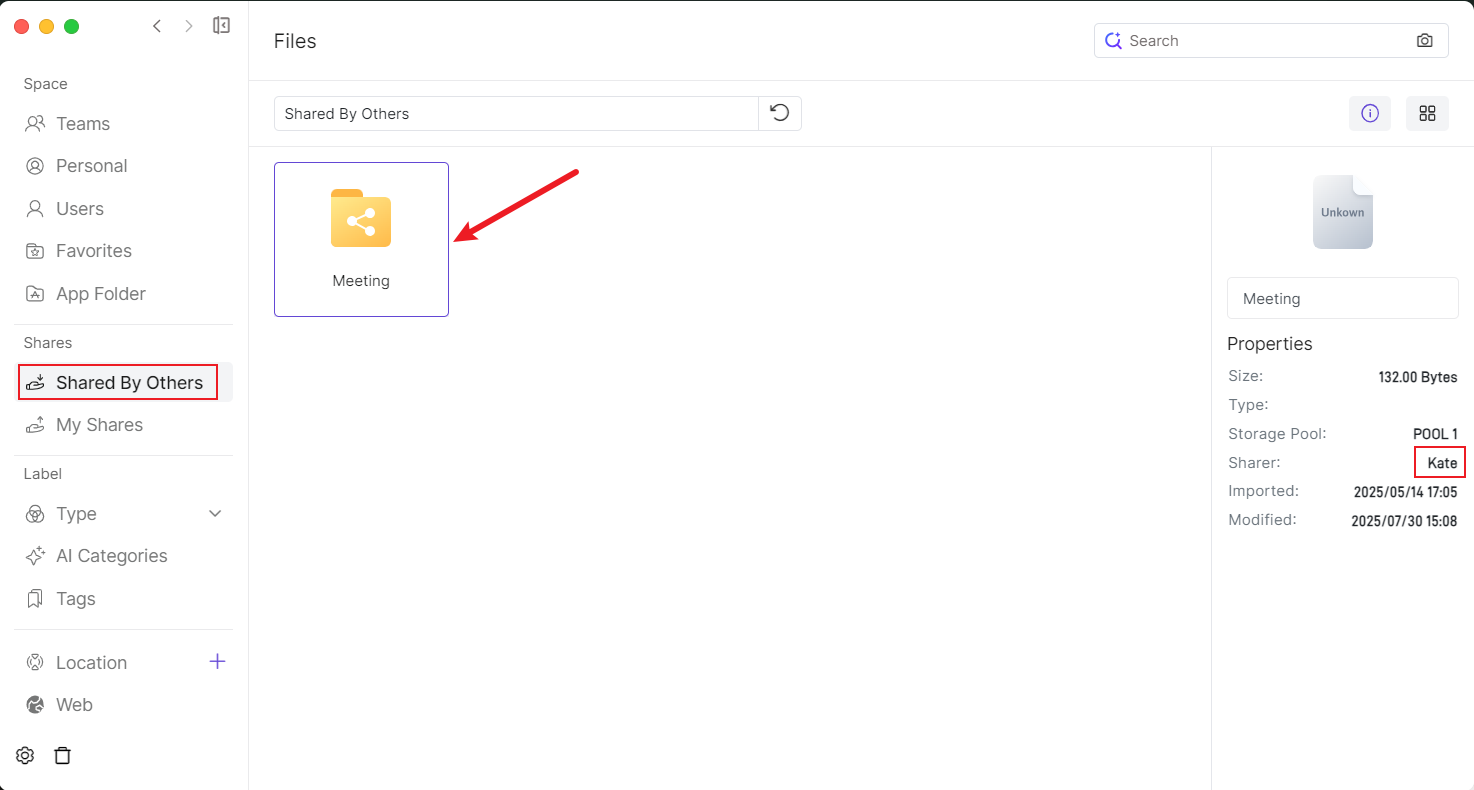
- Shared by Others: Displays files or folders shared by other users in the NAS, visible only to users selected when sharing.
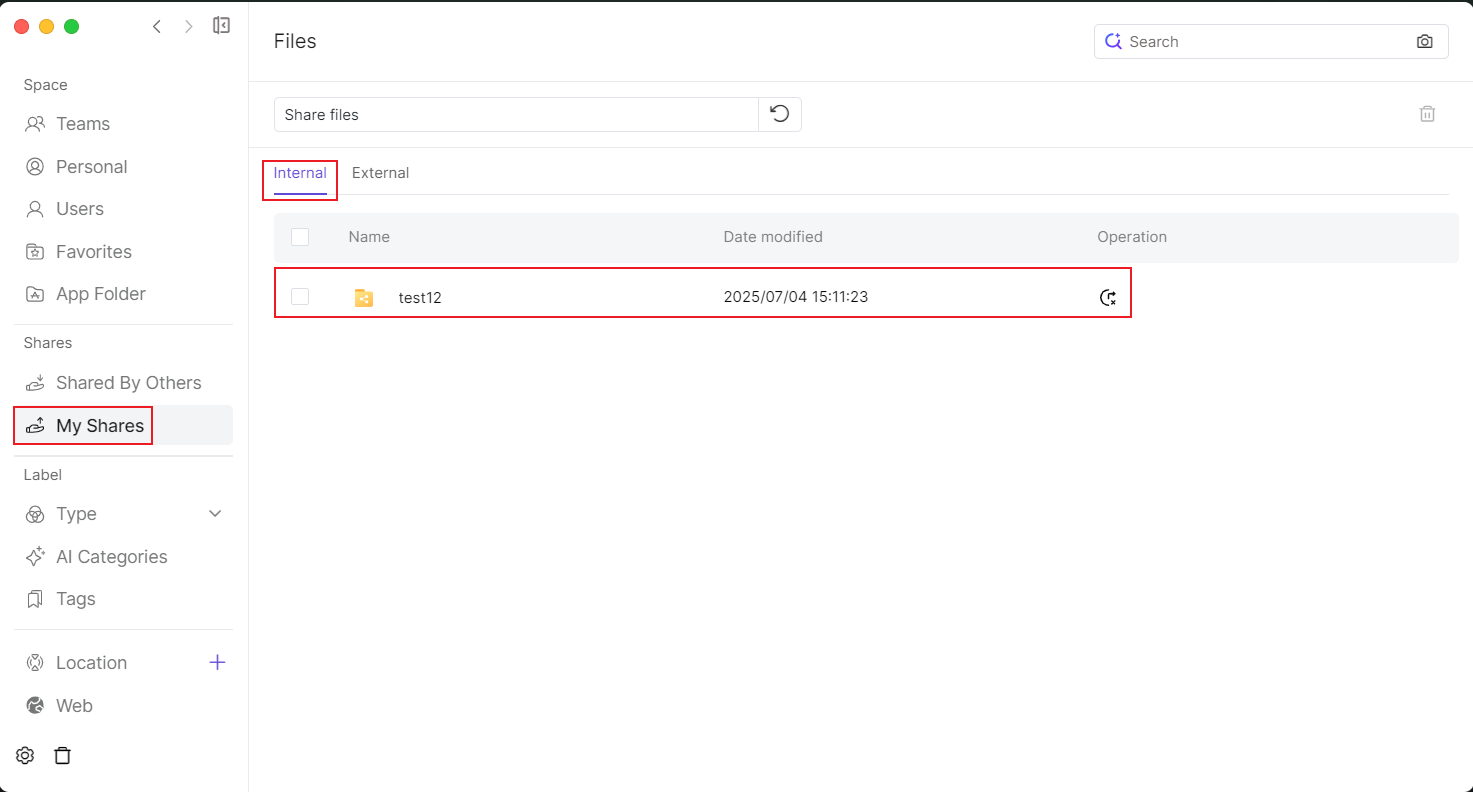
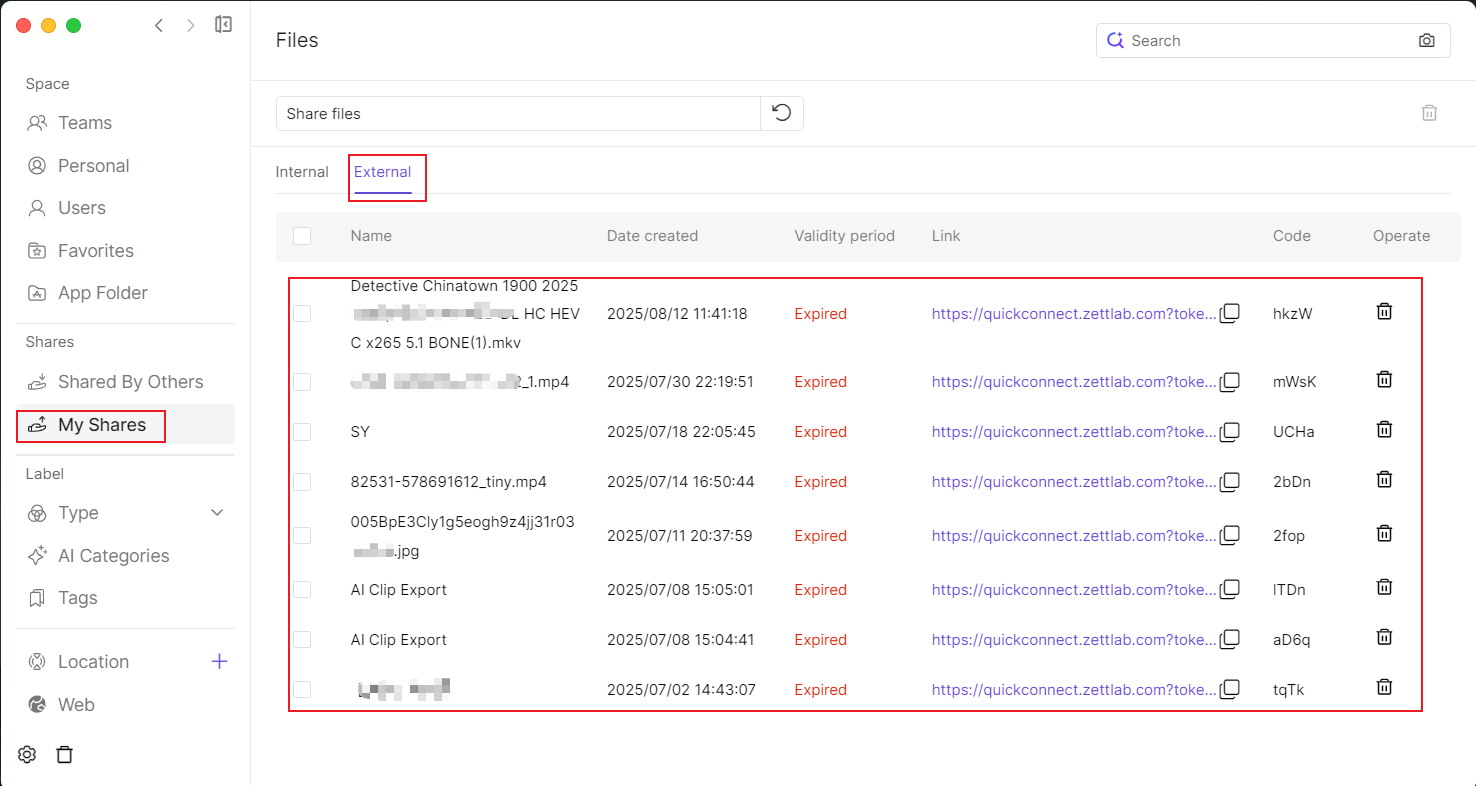
- My Shares: Displays personally shared files and folders, as well as external sharing information, visible and manageable only by the individual.
Label
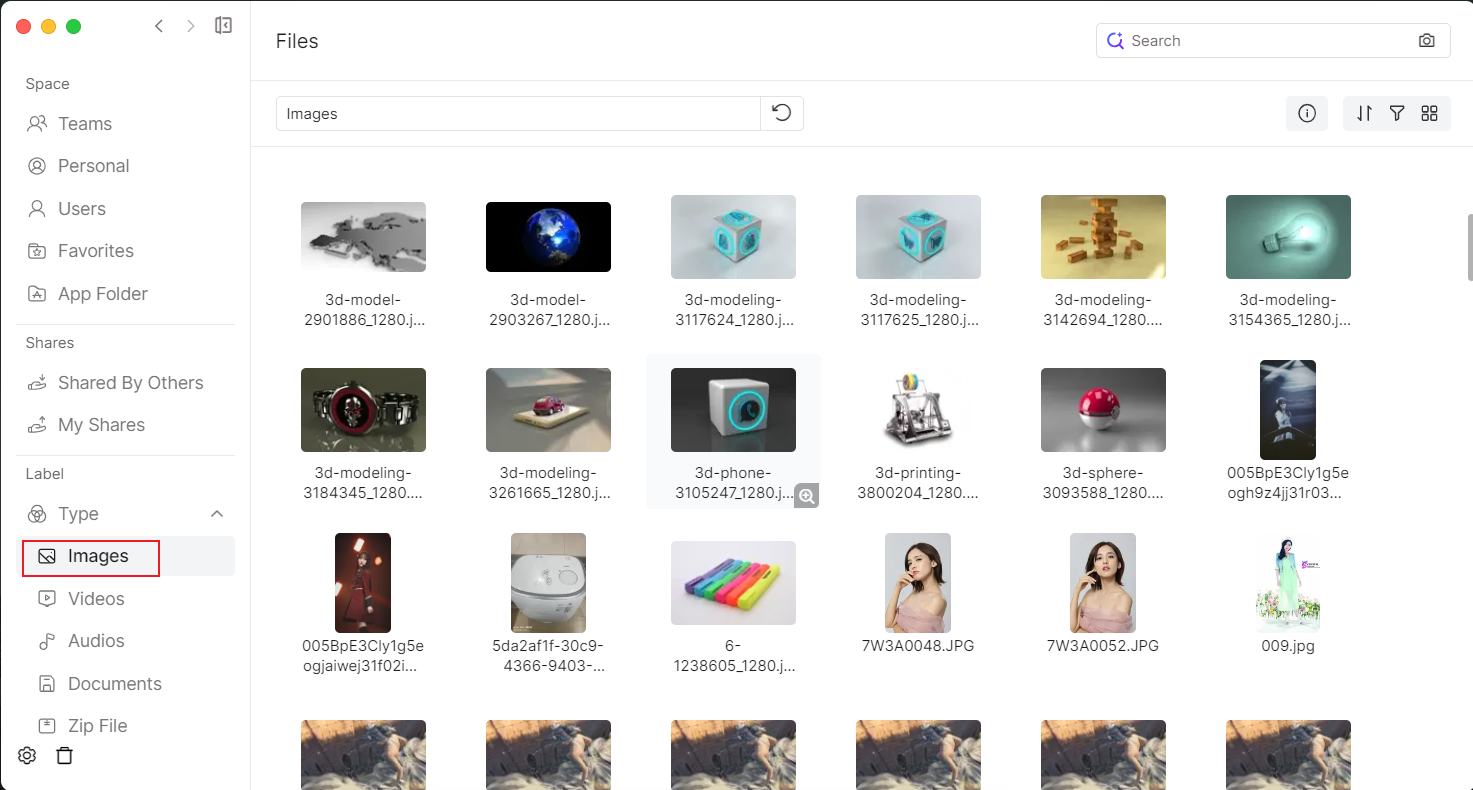
- Type: After users upload files, the NAS can automatically categorize different file types, including Images, Videos, Audios, Documents, Zip File, BT, etc.
 Most importantly, users can also use filtering tools in the categories to quickly and conveniently filter target files through multiple conditions such as Color, Tags, Rate, and Metadata (administrators can view all, regular users can only view authorized files).
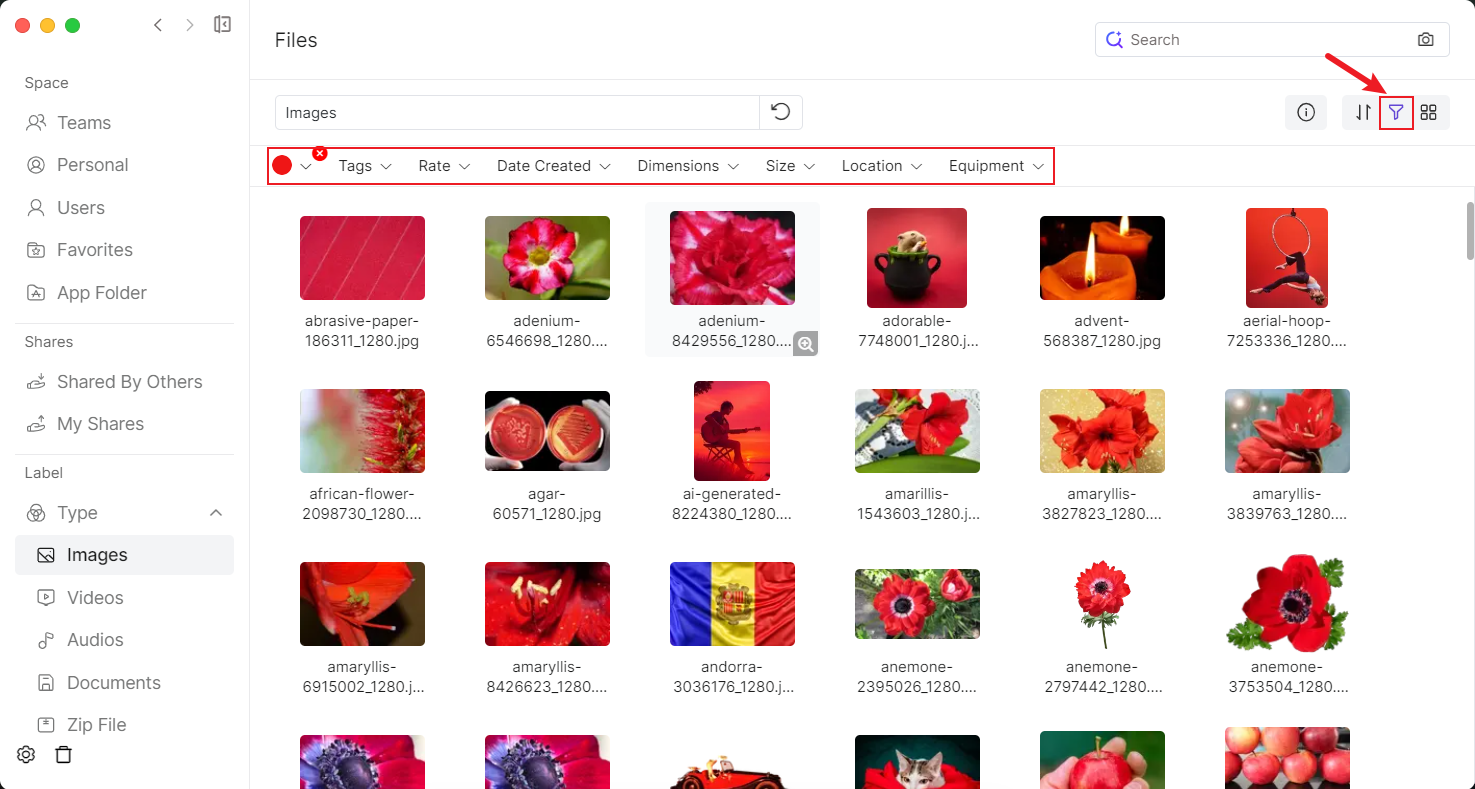
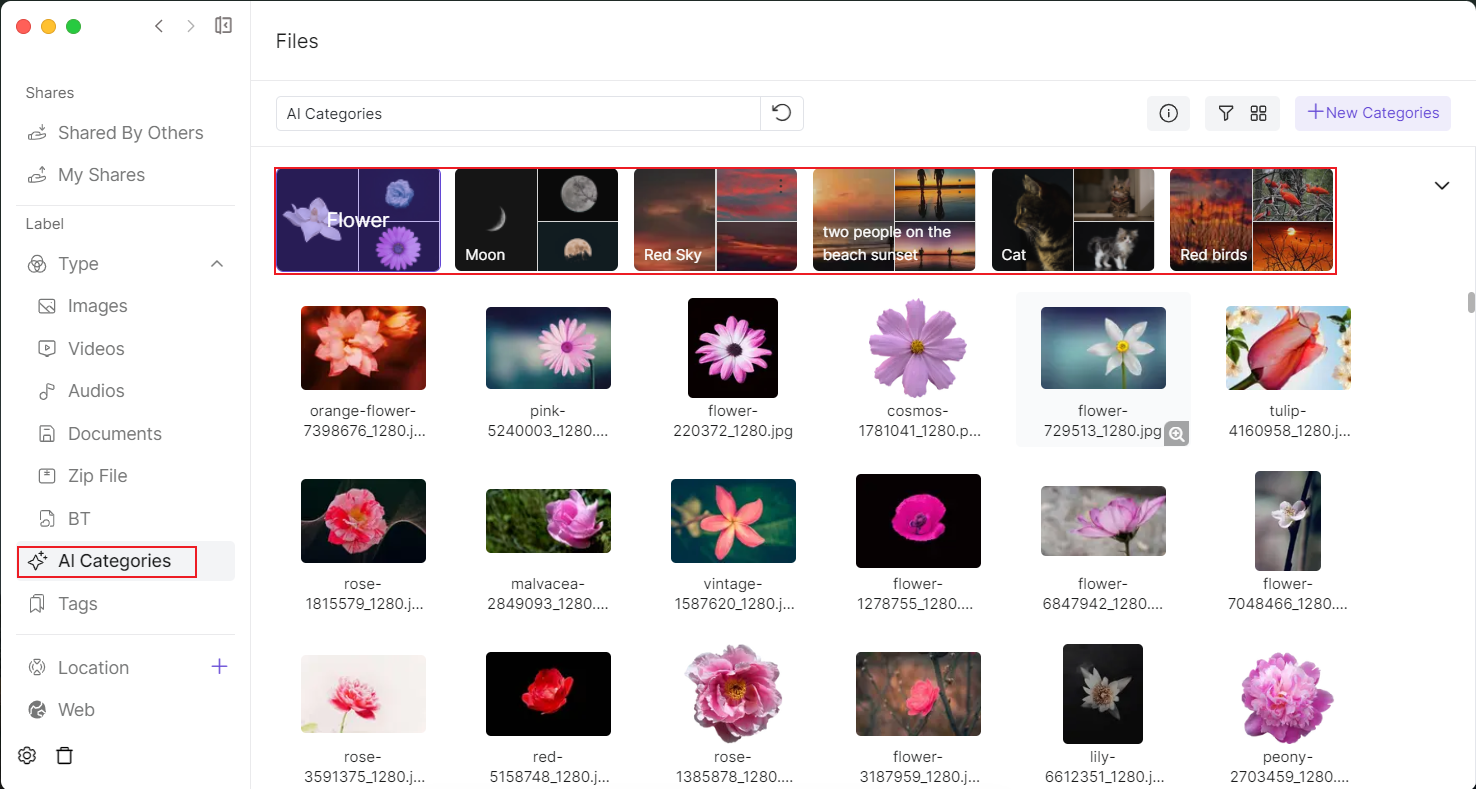
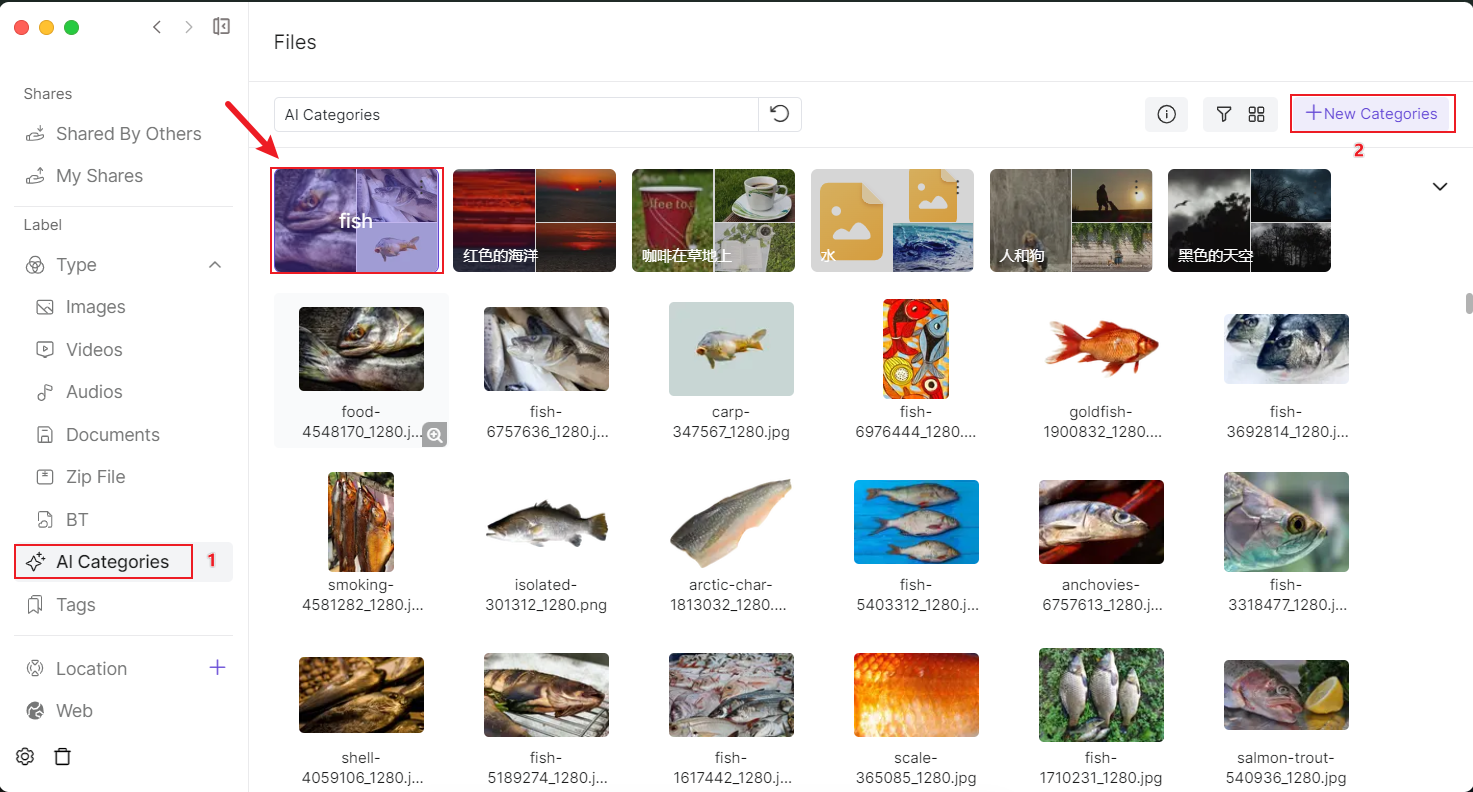
- AI Categories:
- After users upload images and videos, the local AI LLM will perform deep learning on the data and then automatically classify them
- Users can also create new categories, words/phrases/sentences can be used as new Categories, for example, here we create a "fish" category, and images and videos in the NAS related to this description will be automatically classified to this directory.
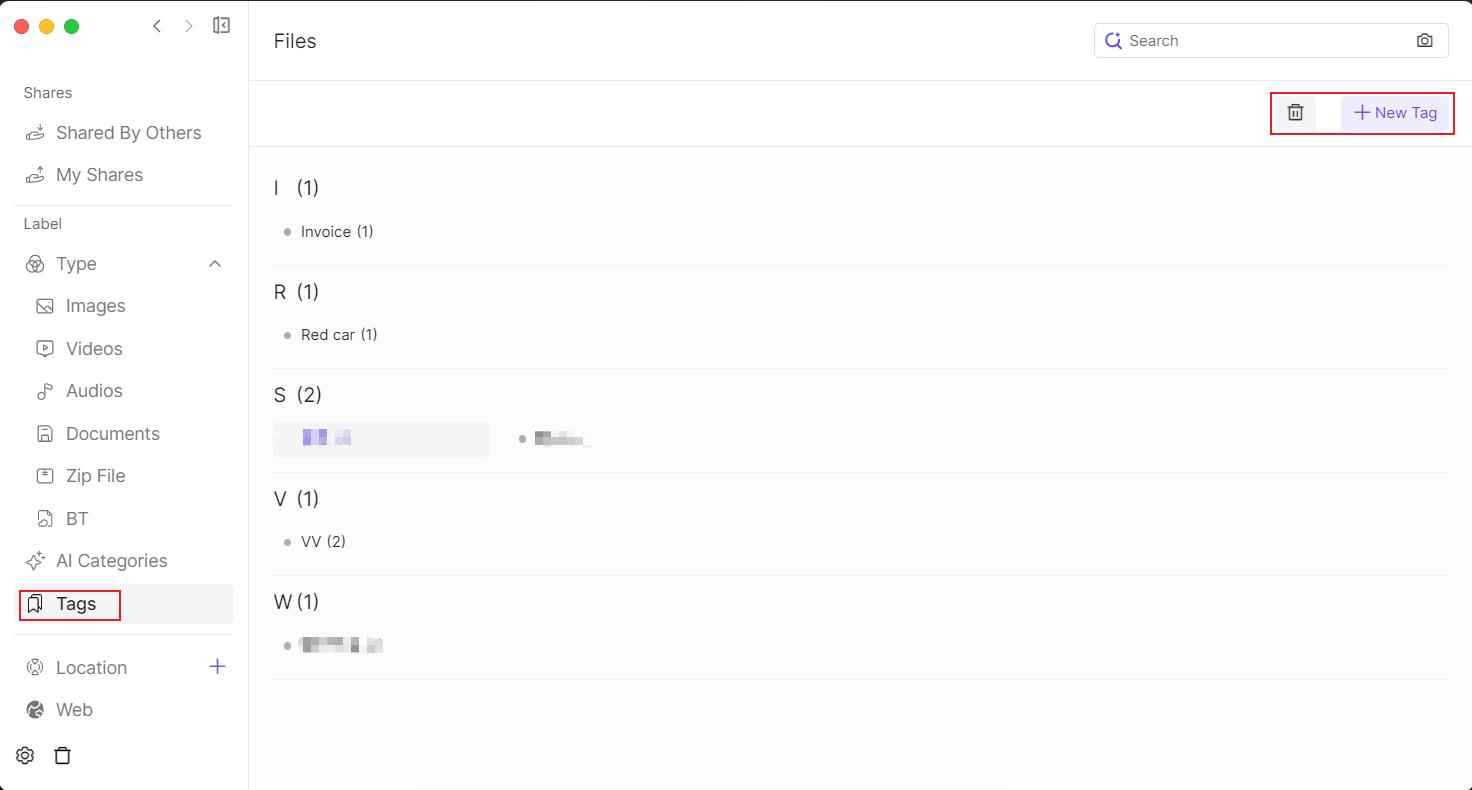
- Tags: After users customize tags for files, they can view various files that have been tagged here, delete or add Tags.
Location
Supports mounting mainstream cloud storage services such as Google Drive, Dropbox, OneDrive, etc., as well as SMB services of other devices.
Toolbar

| No. | Name | Function Description |
| 1 | Smart Search | Supports semantic (local AI function) and keyword search for files and folders. |
| 2 | Image Search | Supports uploading images to search for similar image files or image network links. |
| 3 | Address Bar | Displays the current path, supports clicking to jump to the parent folder. |
| 4 | Refresh | Refreshes the current folder address and file directory to ensure the latest content is displayed. |
| 5 | Copy | Copies the selected file or folder (right-click at the target location and select \"Paste\"). |
| 6 | Delete | Deletes the selected file or folder. |
| 7 | View Details | Views detailed information of the selected file or folder, **including OCR content, video summary, and speech-to-text content.** |
| 8 | Sort | Supports sorting by Name, Size, Type, Imported Time, Modified Time, Color, etc., and supports ascending and descending order. |
| 9 | Filter | Supports filtering files by categories such as Color, Tags, Type, Rate, and Metadata. |
| 10 | View | Changes the display panel view, including: Waterfall, Grid, List modes. |
| 11 | New | Creates a new file or folder in the selected folder. |
| 12 | Upload | Uploads files or folders to the selected folder. |
View Information
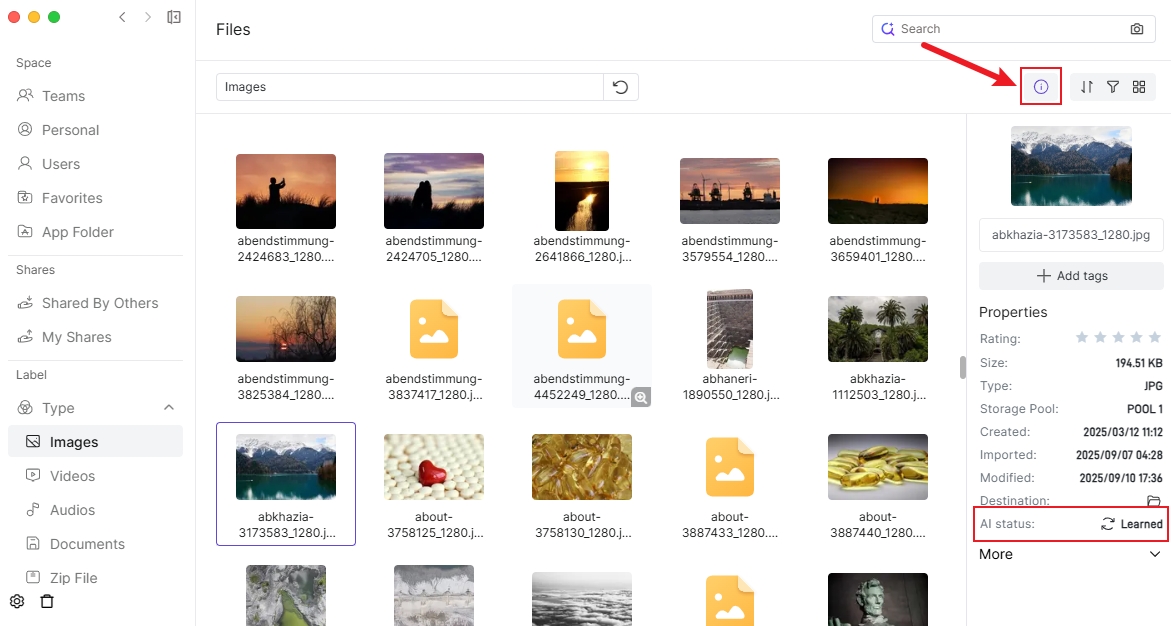
View AI Processing Status
Uploaded data needs to wait for AI processing to be completed before it can be searched. You can select a file in Files and click the small exclamation mark icon (Details) in the upper right corner to view the Task Status. If it shows Learning, it means the data is still being processed, and Finished means the data processing is complete. 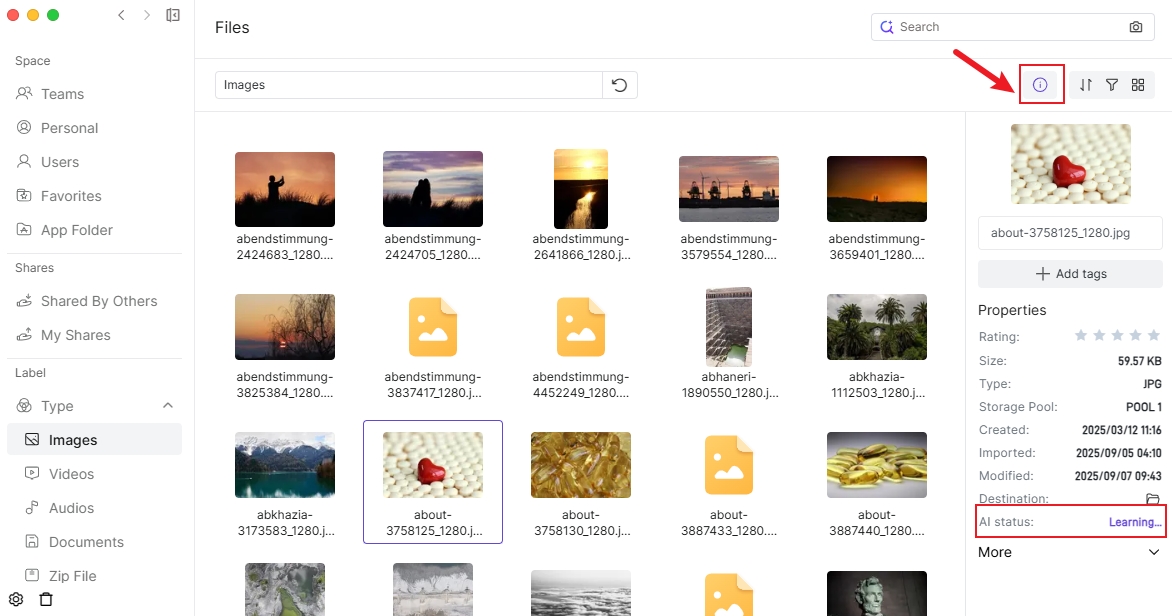
View Photo Material OCR Information
After selecting an image, click the small exclamation mark icon (Details) in the toolbar to open the file's detailed information. If the image contains recognizable OCR content, it will be displayed in the OCR box in the details. 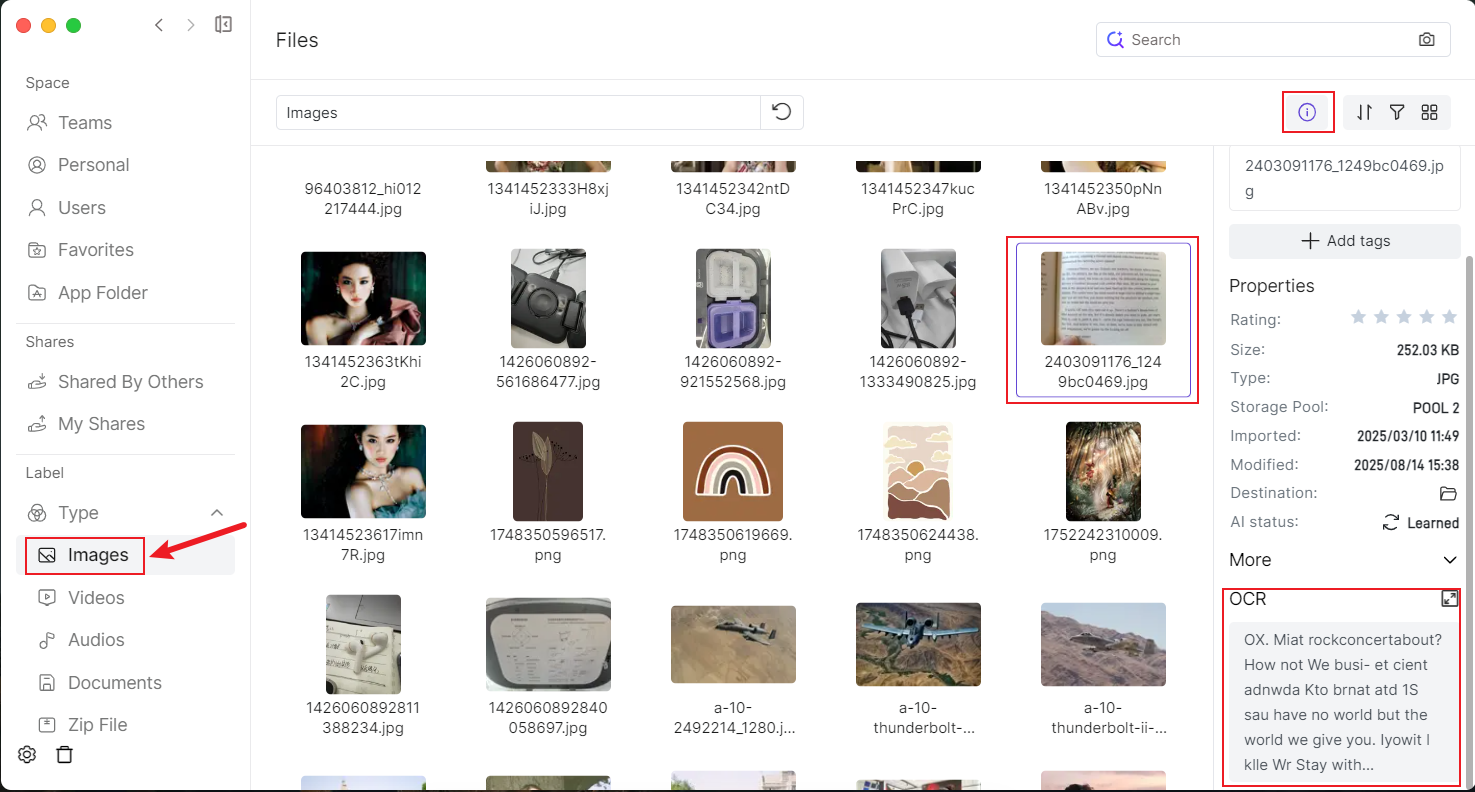
View Speech-to-Text Information
After selecting audio or video, click the small exclamation mark icon (Details) in the toolbar to open the file's detailed information. The content summary of the audio and video and detailed speech-to-text content will be displayed here. 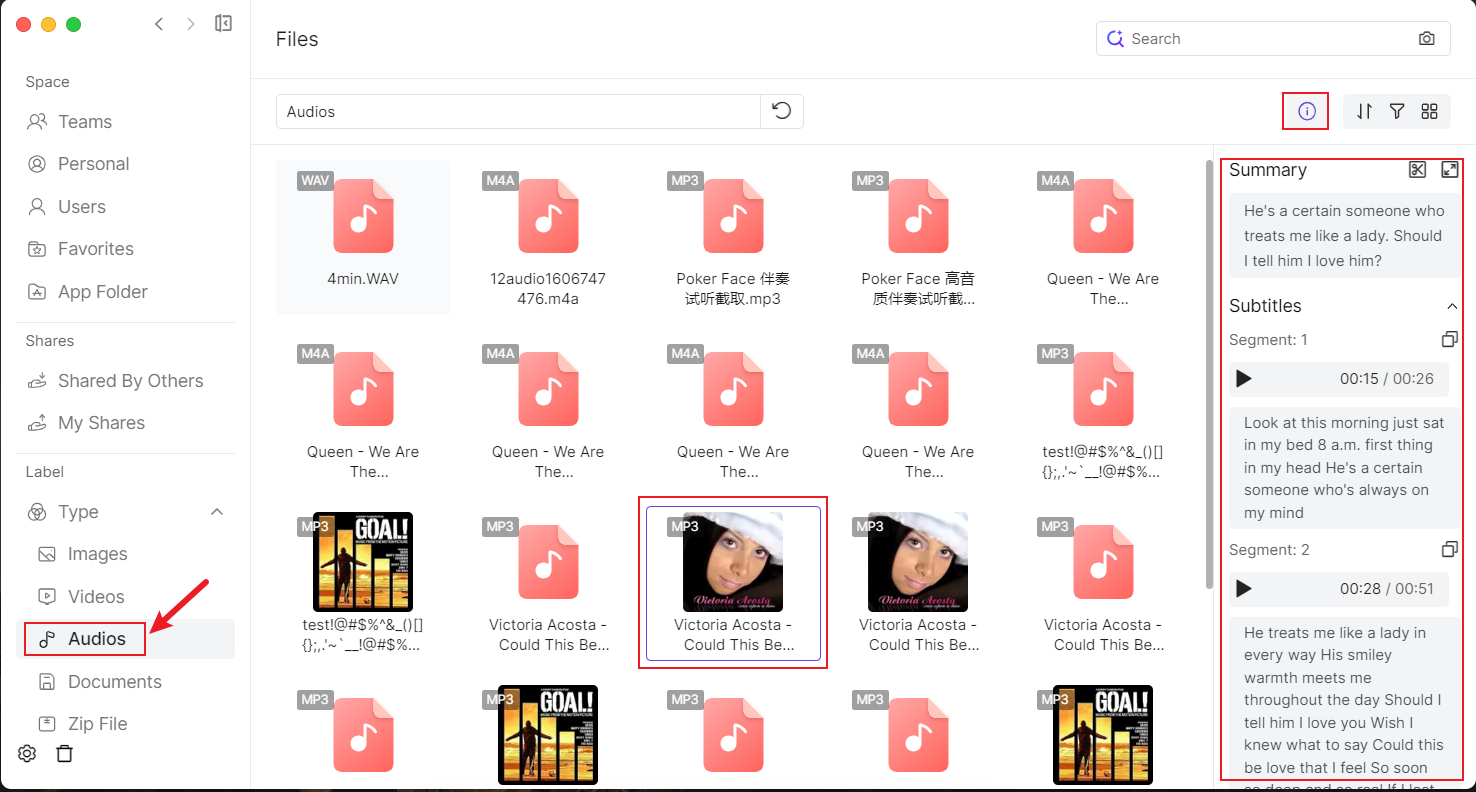
Display Panel
Basic File Operations
The display panel is the main display area for files and folders, where you can flexibly browse and manage your files. Right-clicking on a folder or blank space allows you to perform various operations such as upload, download, copy, share, etc.
Preview Images
Without fully opening the file, just hover the mouse over the magnifying glass in the lower right corner of the image to quickly preview the image.
Preview Audio and Video
Hover the mouse over the progress bar of the thumbnail to quickly preview different progress of audio and video. 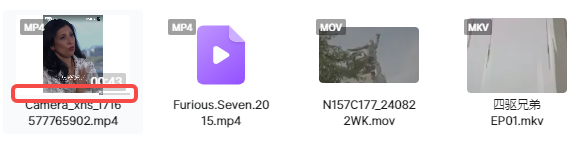
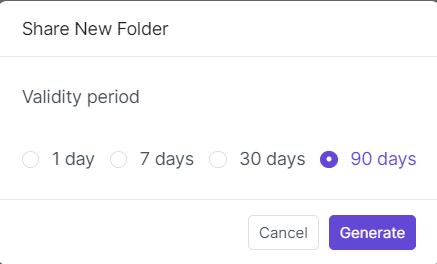
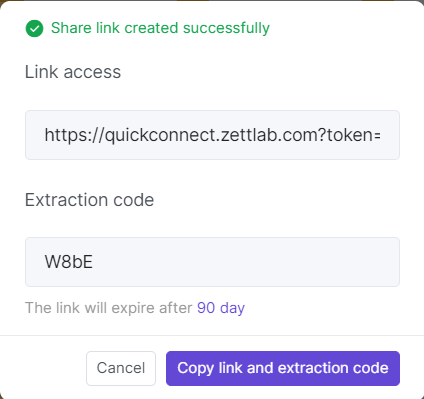
External Sharing
Share files externally with one click, generate online preview links and extraction codes, and you can also choose the sharing validity period. 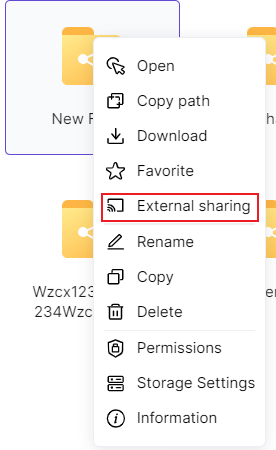
Comment on Shared Files
Recipients can preview and comment on shared materials online without logging into any account, easily improving communication experience and efficiency.
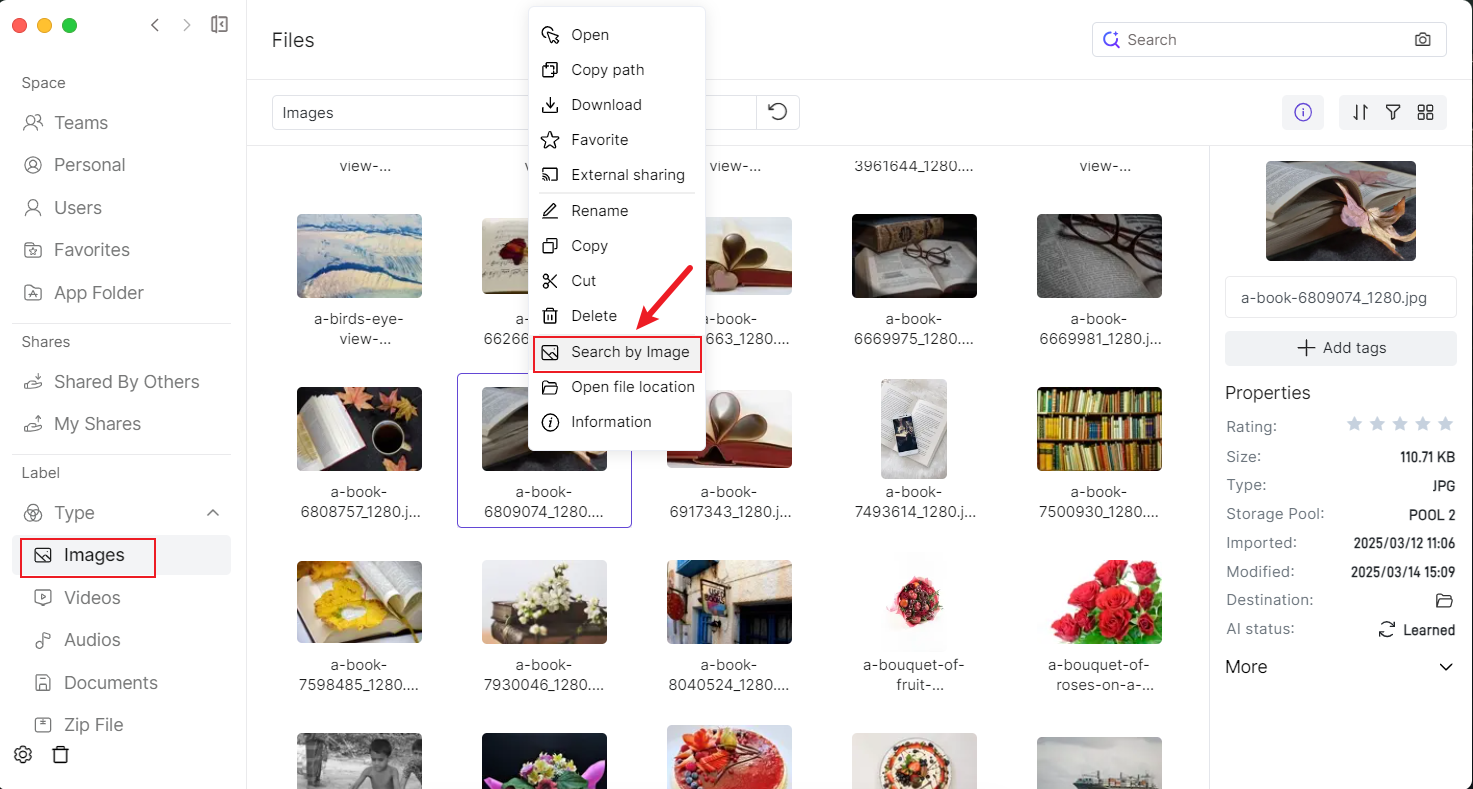
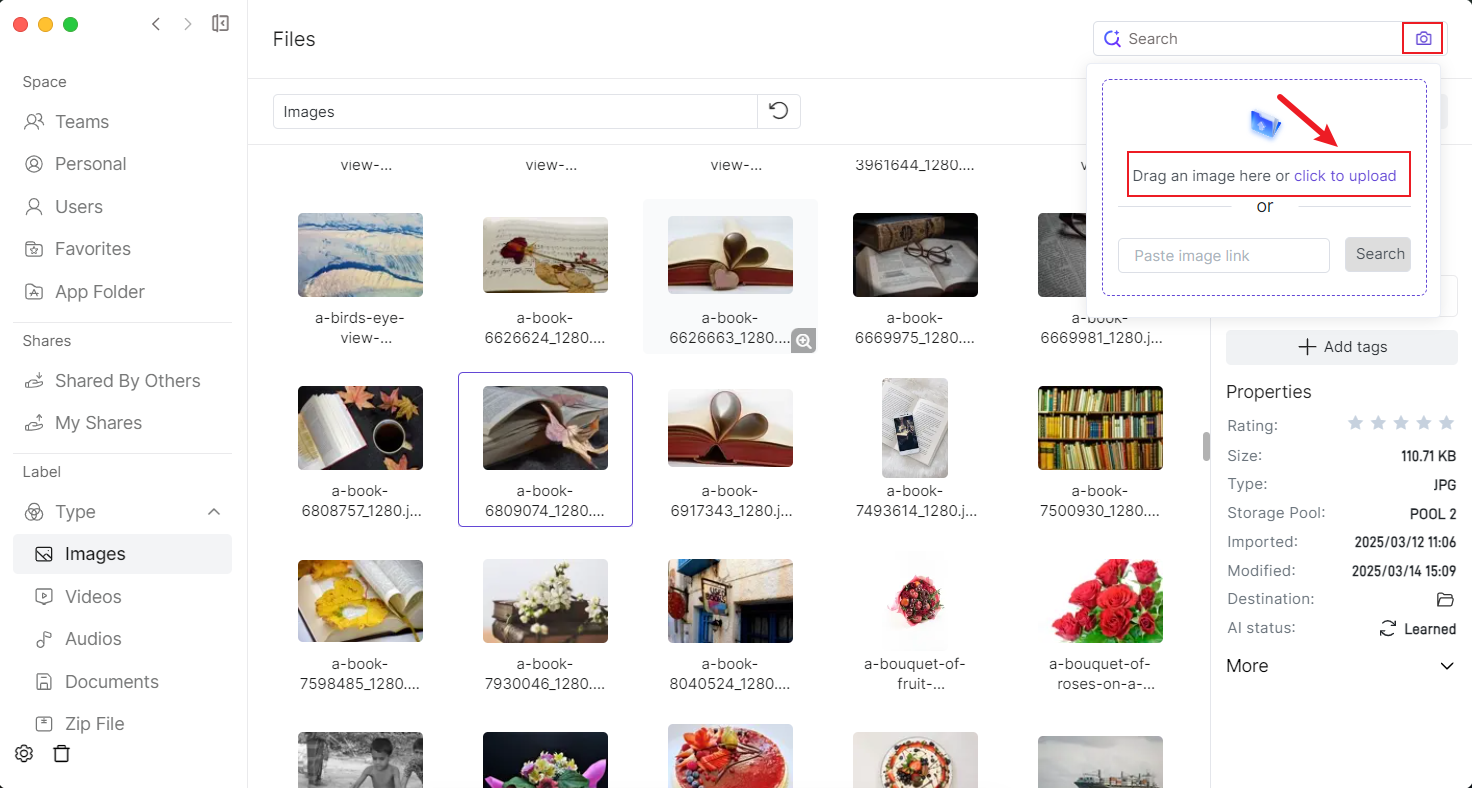
Search by Image
There are three ways to search for images using images.
- Right-click on an image and click Search by image.
- Click the small camera icon next to the search box in the upper right corner, upload an image, or enter a network image link to search for similar images in the NAS.
Restore Deleted Files
Click the small trash can icon in the lower left corner of the file manager. Right-click the deleted file and select Restore to restore the deleted file. 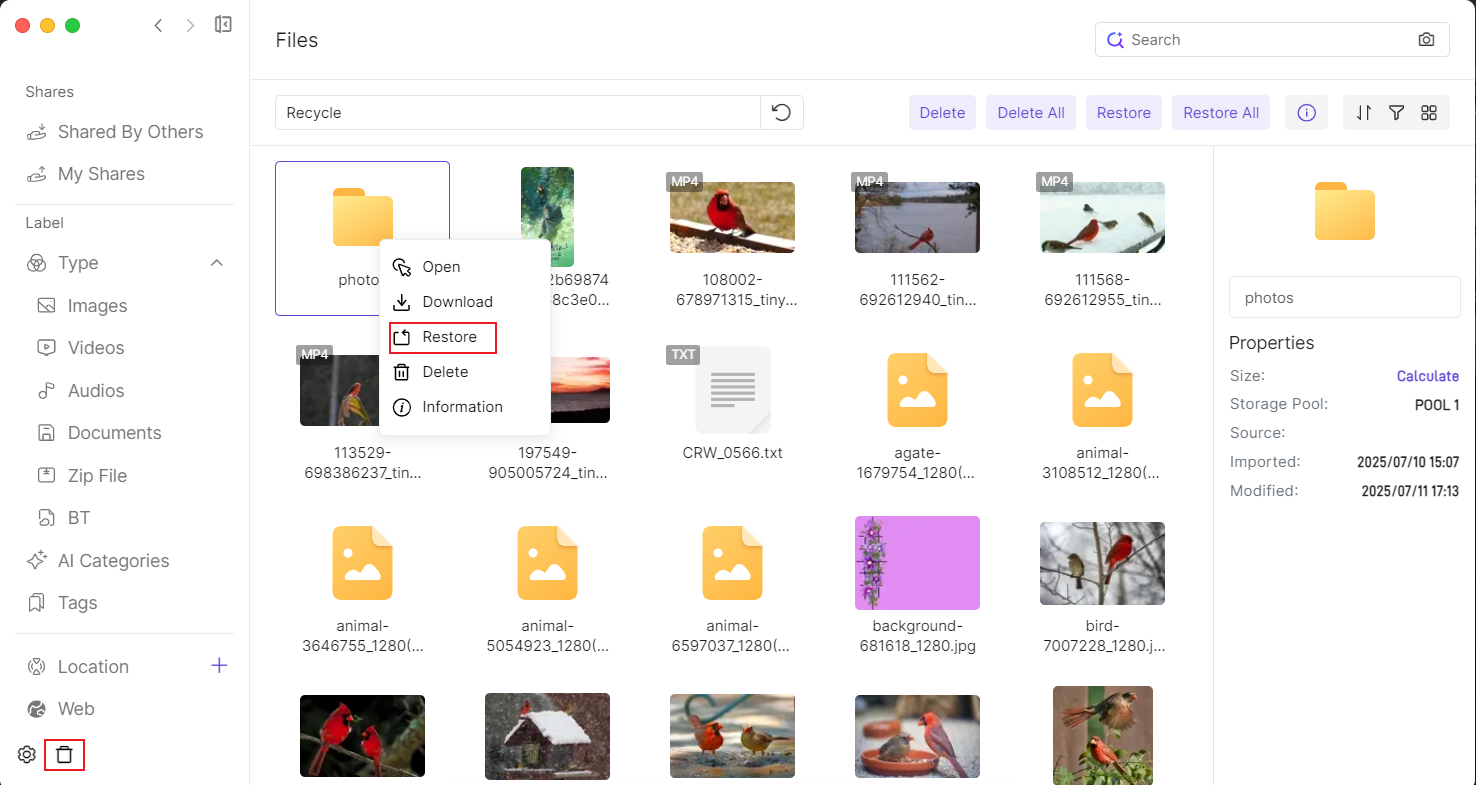
Appendix
To help you understand the Files processing process, we list the AI engine's processing methods for different types of data as follows:
| Uploaded Data Type | AI Engine Processing | Core Functions |
| Images | OCR | Smart Search (Support Neural Language and Image input, In Files) |
| Vectorization | Smart Search | |
| Auto Tagging | AI Classification (In Files) | |
| Face Recognition | Face Classification (In Photos) | |
| Color Clustering | Color Filtering (In Files) | |
| Metadata Extraction | 1. Smart Search 2. Smart Filtering (In Files) | |
| Video | Vectorization | Smart Search |
| Audio Extraction | Smart Search | |
| Metadata Extraction | 1. Smart Search 2. Smart Filtering (In Files) | |
| Audio | ASR Transcription | 1. Smart Search 2. Subtitle Export (In Clip) 3. Audio Editing (In Clip) |
| Metadata Extraction | 1. Smart Search 2. Smart Filtering (In Files) | |
| Documents | Vectorization | RAG/Knowledge QA (In ZettAI) |