1. Image Management
In the Docker images page, perform the following operations:
● Search and download images in the Image Repository;
● Manage downloaded images in Local Images;
● Create and run containers using downloaded images;
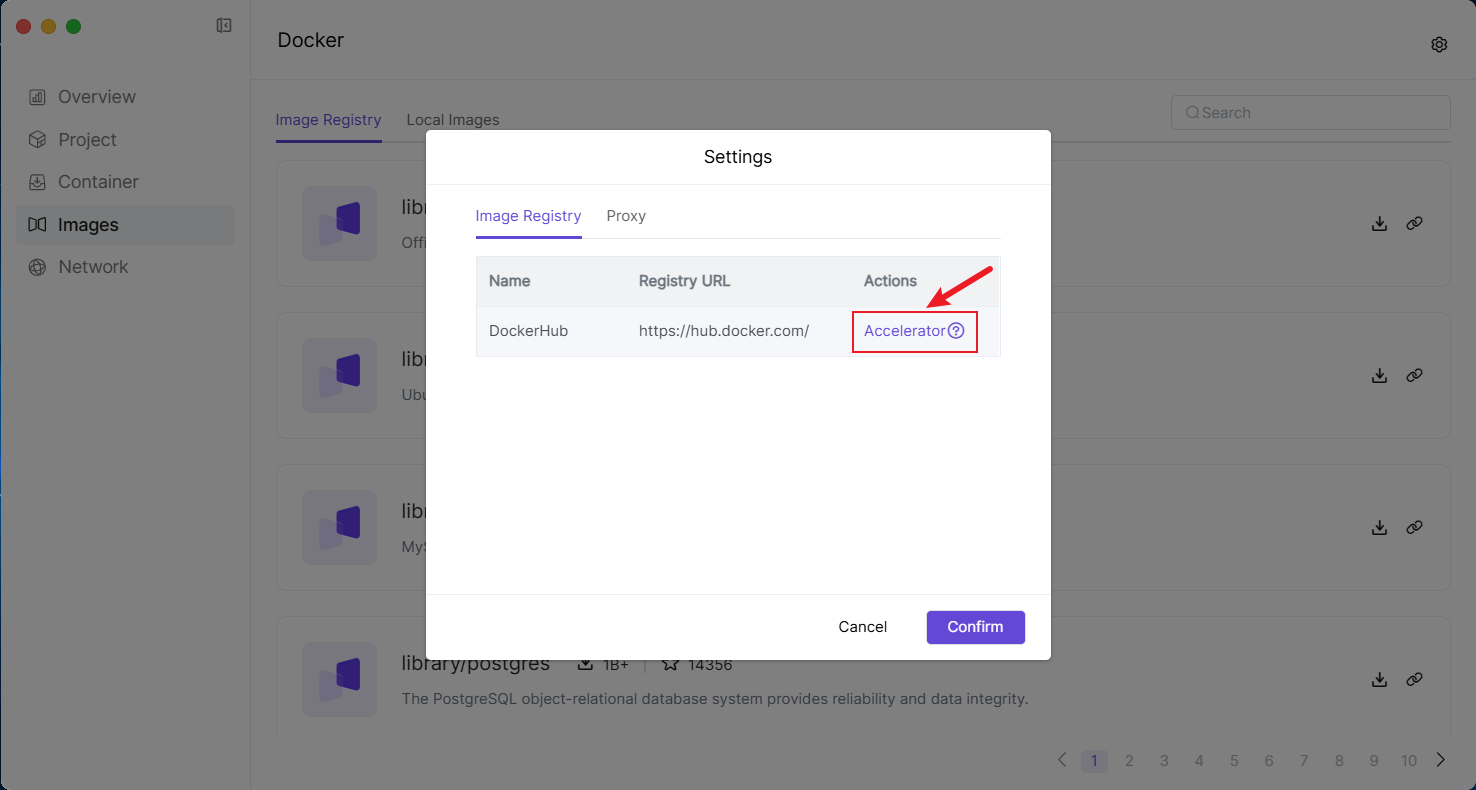
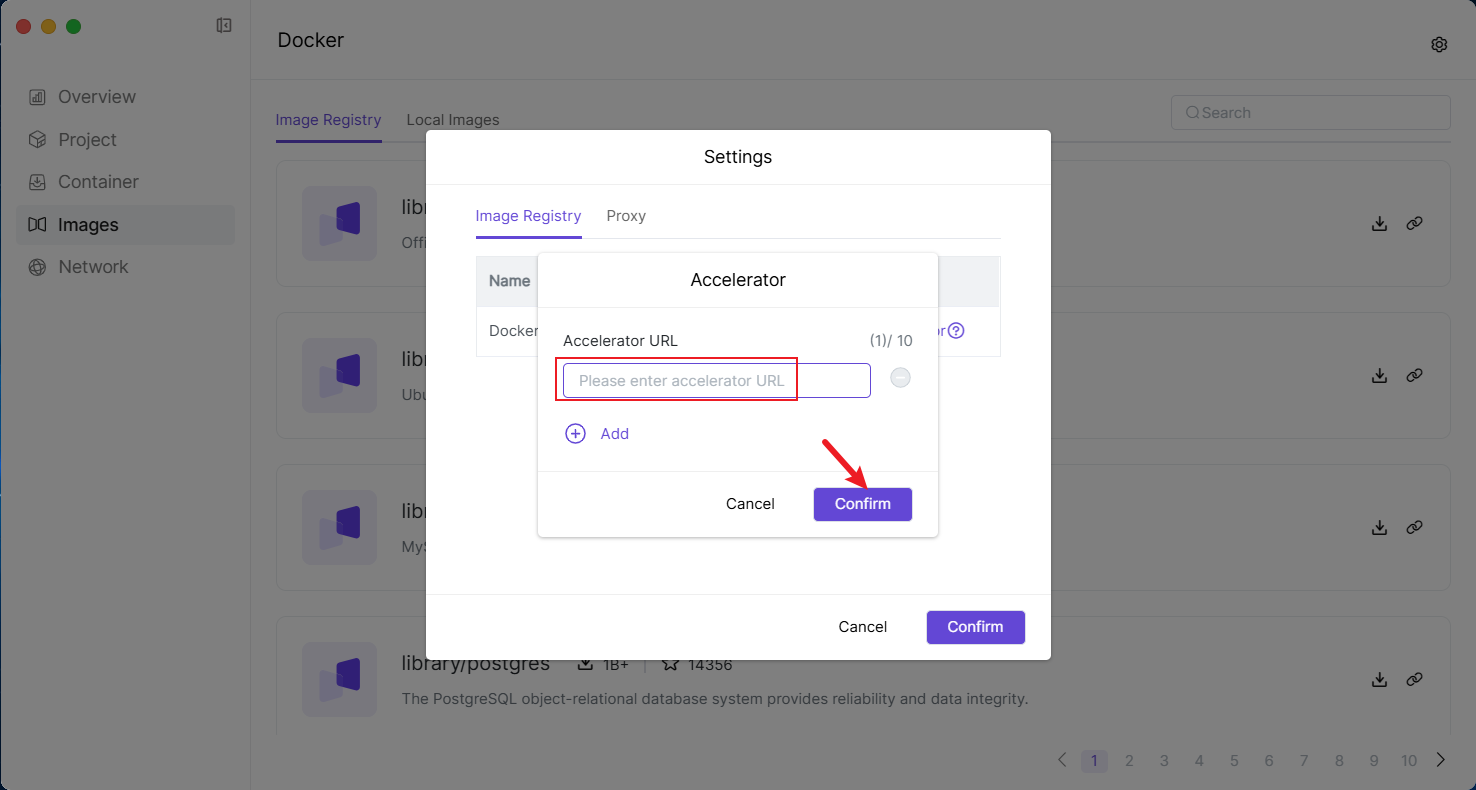
● Configure image accelerators, add image sources, and set up Docker proxy in image Settings (requires you to set up your own proxy server).
2. Image Repository
● Docker Hub official image source is provided by default, where you can search and download images; ● It also supports adding third-party image sources. If you have your own image source, you can add it and download the corresponding images. 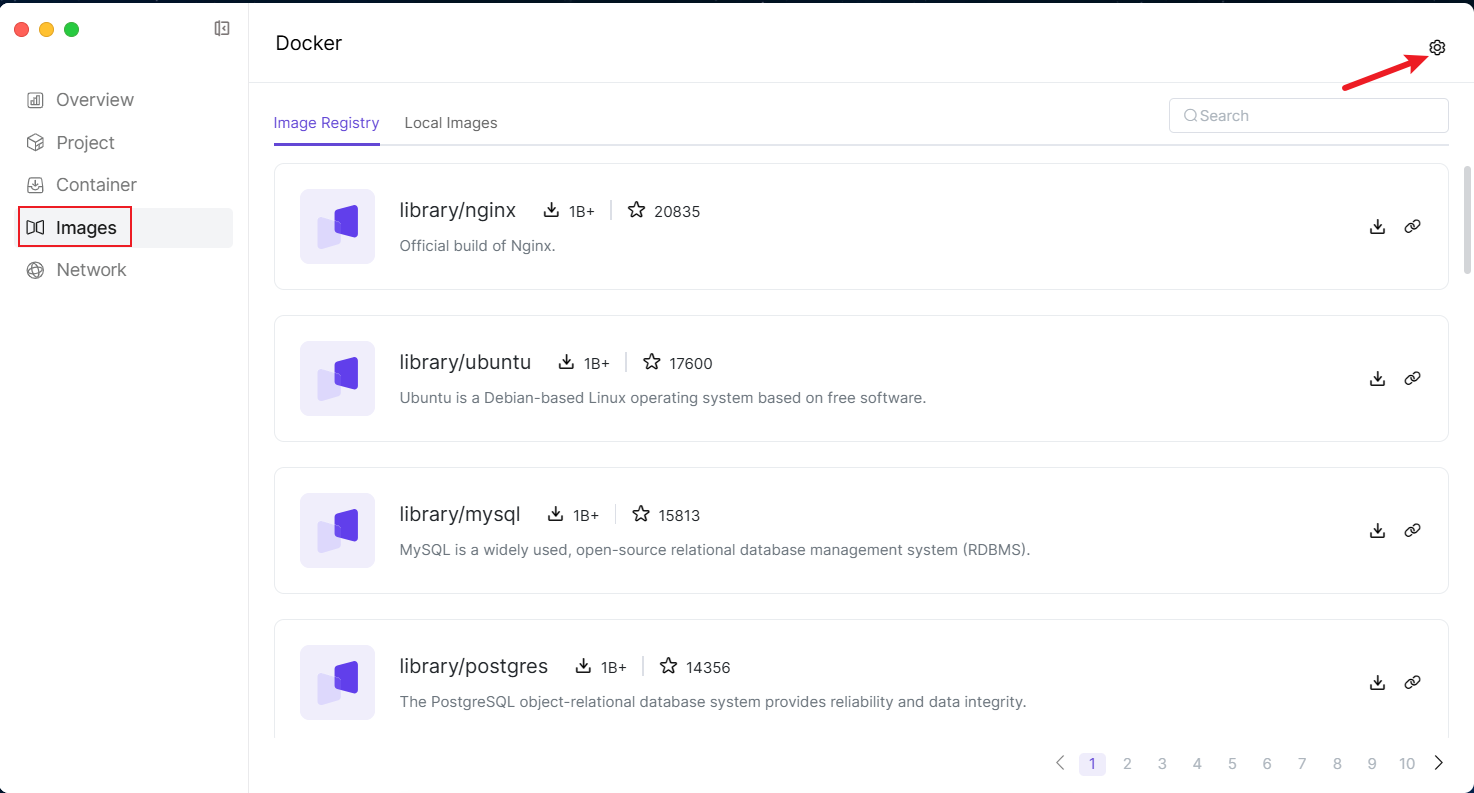
3. Download Images
3.1 Switch to the Image Repository tab on the Images page. 3.2 Enter the name of the image you want to download in the search box, and press Enter to start searching. 3.3 Select the target image from the search results, and click [Download]. 3.4 In the pop-up window, select the image version number. If you don't fill in the version number, the system will pull the latest version by default. If you need to specify a version, please enter the corresponding version number. 3.5 After the download is completed, you can manage the image on the Local Images page, and use it to create and start new containers.
4. Configure Image Proxy
[Docker] supports configuring image proxy functionality, downloading images through a proxy server and transferring them to NAS. 4.1 On the Images page, click the [Settings] button. 4.2 In the [Proxy] option, turn on the "Proxy Server" switch, fill in the proxy server address (must start with http:// or https://), and click [Confirm] to save. 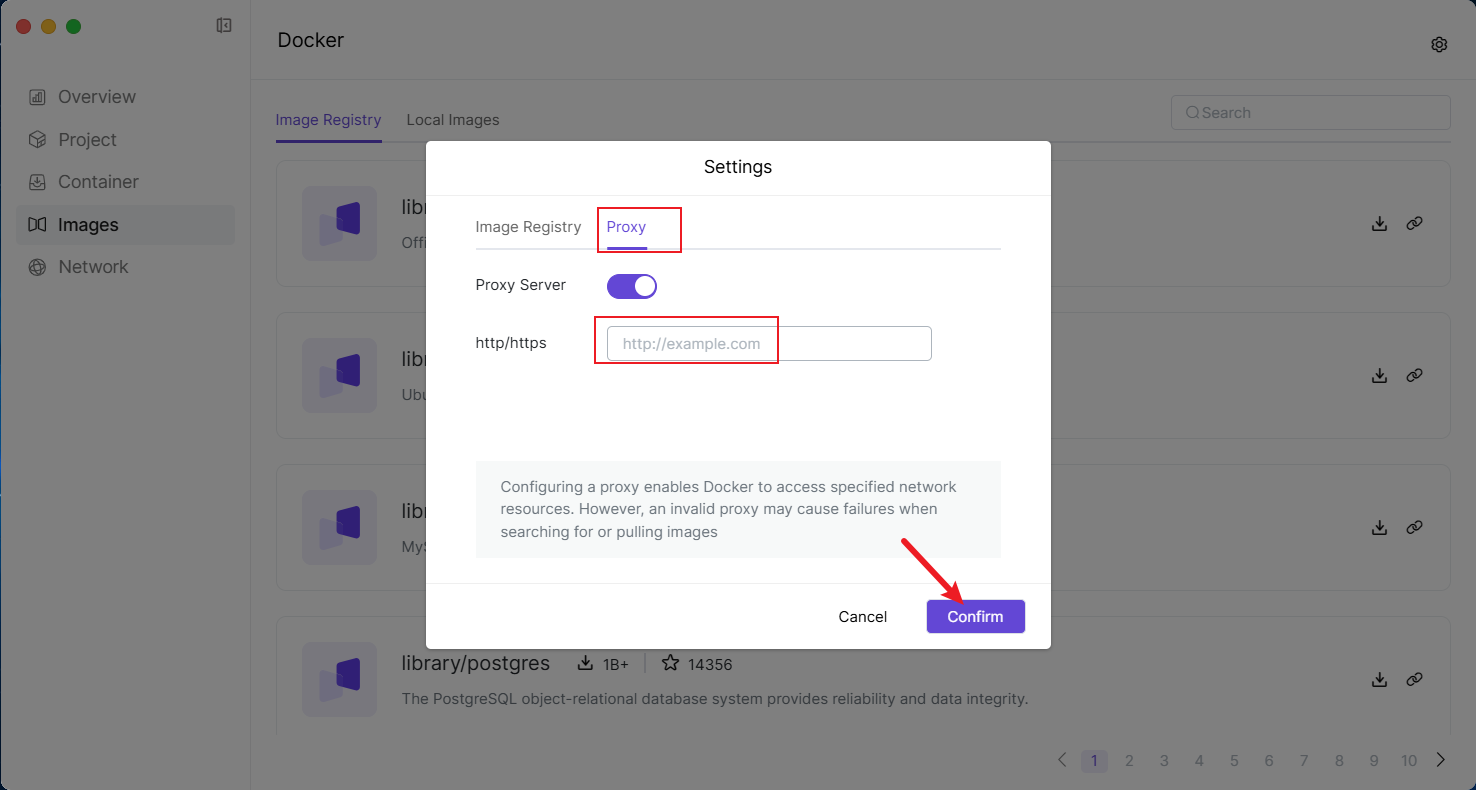 4.3 The system will pop up a prompt, informing you that modifying this configuration requires restarting [Docker], click [OK] to restart.
 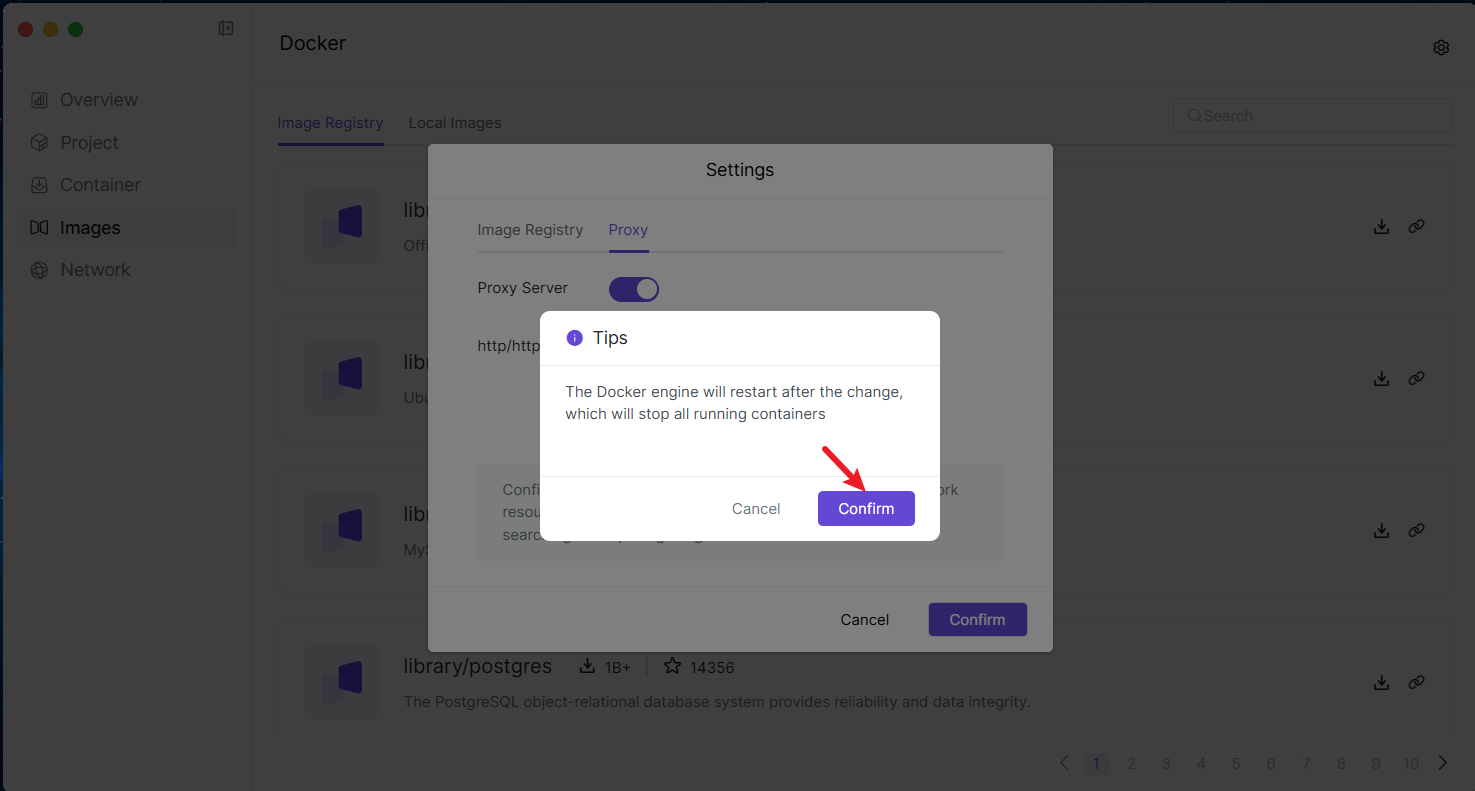 4.4 After the engine restart is completed, all subsequent image downloads will be downloaded through the proxy server you configured.
5. Local Image Management
Local Images stores images that have been downloaded or imported into Docker. You can manage and use these images on this page. In addition to downloading images from the image repository, you can also add images through the following methods: 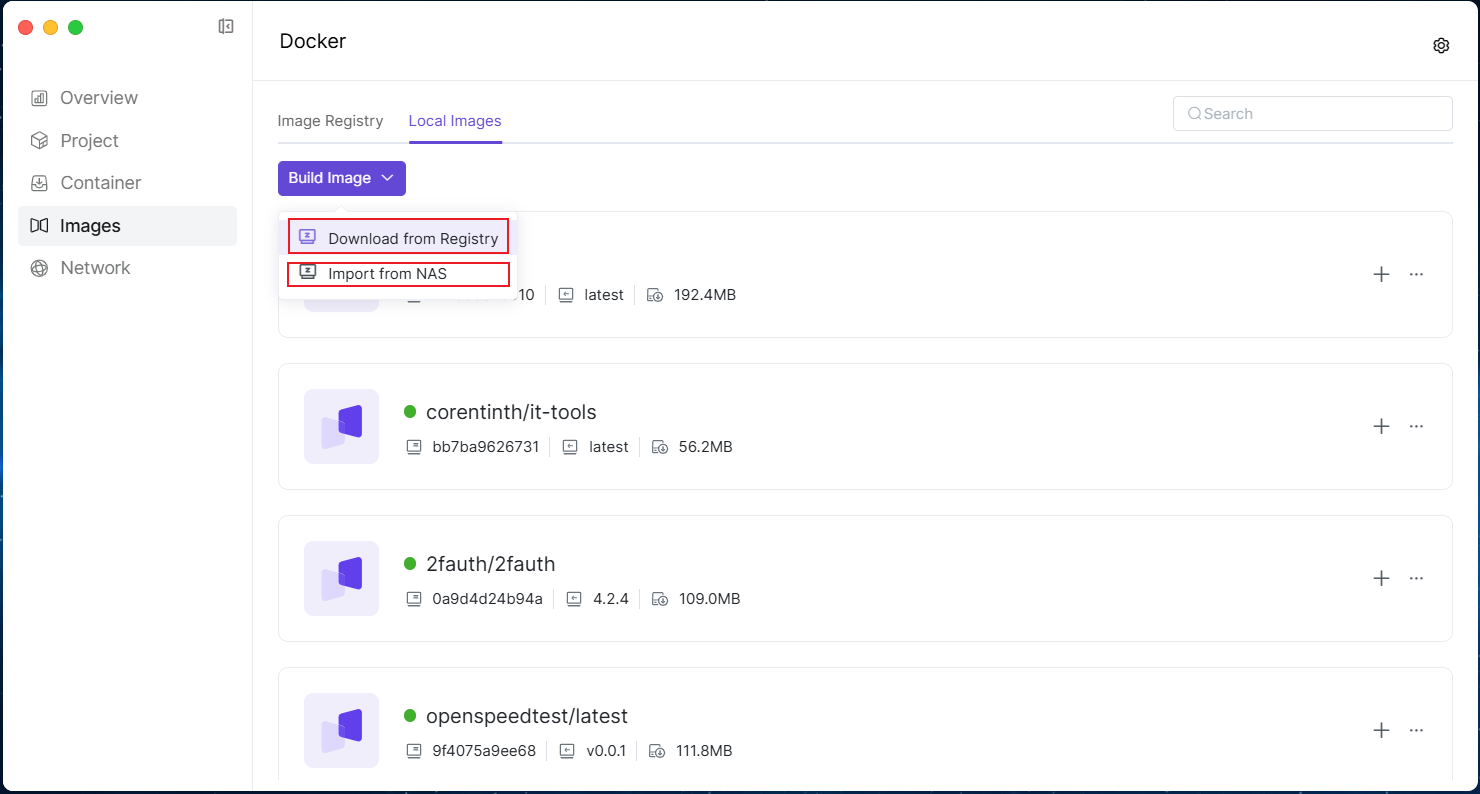
5.1 Download from Image Source
5.1.1 On the Local Images page, click [Build Image], and select [Download from Image Repository].
5.1.2 In the pop-up window, select the image acquisition method ● By Image Name: Enter the image name and version number. 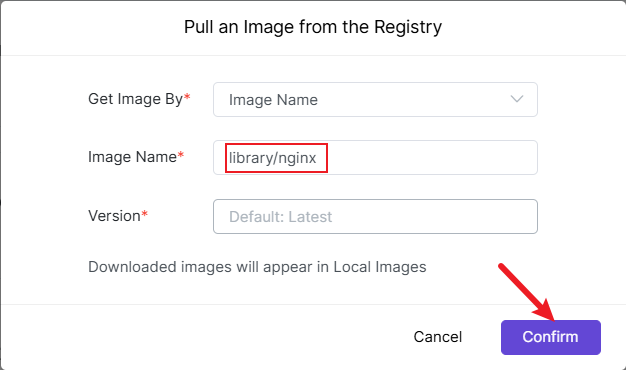 ● By URL: Enter the image download link; if the image source has access restrictions, you also need to fill in the Username and Password. 5.1.3 After entering the information, click [OK], and the system will start downloading the image.
5.2 Import from NAS
5.2.1 Upload the image file to the File Management application. 5.2.2 On the Local Images page, click [Build Image], and select [Import from NAS]. 5.2.3 Select the image file from File Management, click [Confirm], and the system will import the image into local images.
6. Delete Images
6.1 Select the image you want to delete, and click [Delete]. 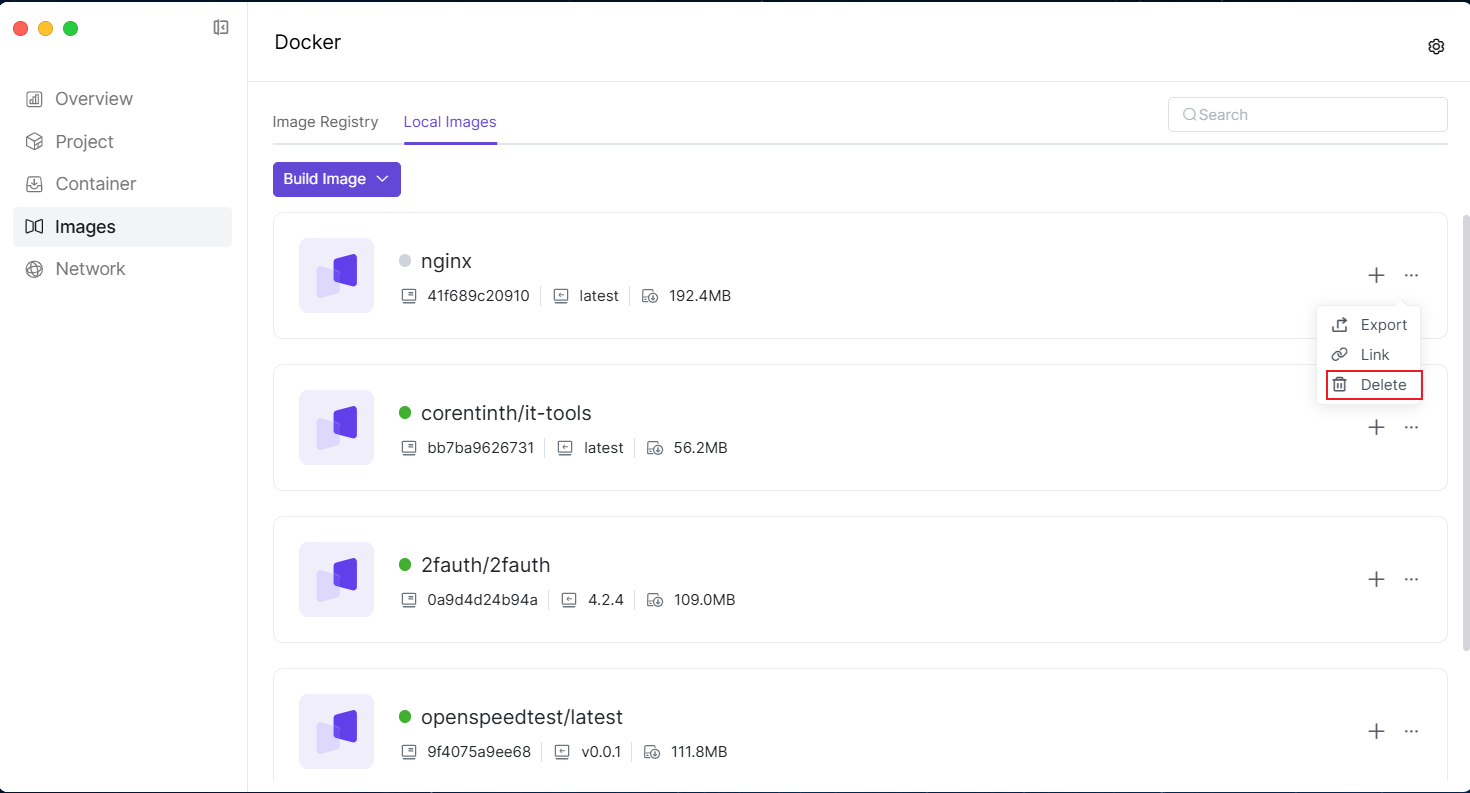 6.2 The system will pop up a confirmation prompt, click Confirm Delete to complete the operation.
7. Export Images
7.1 Select the image you want to export, and click [Export]. 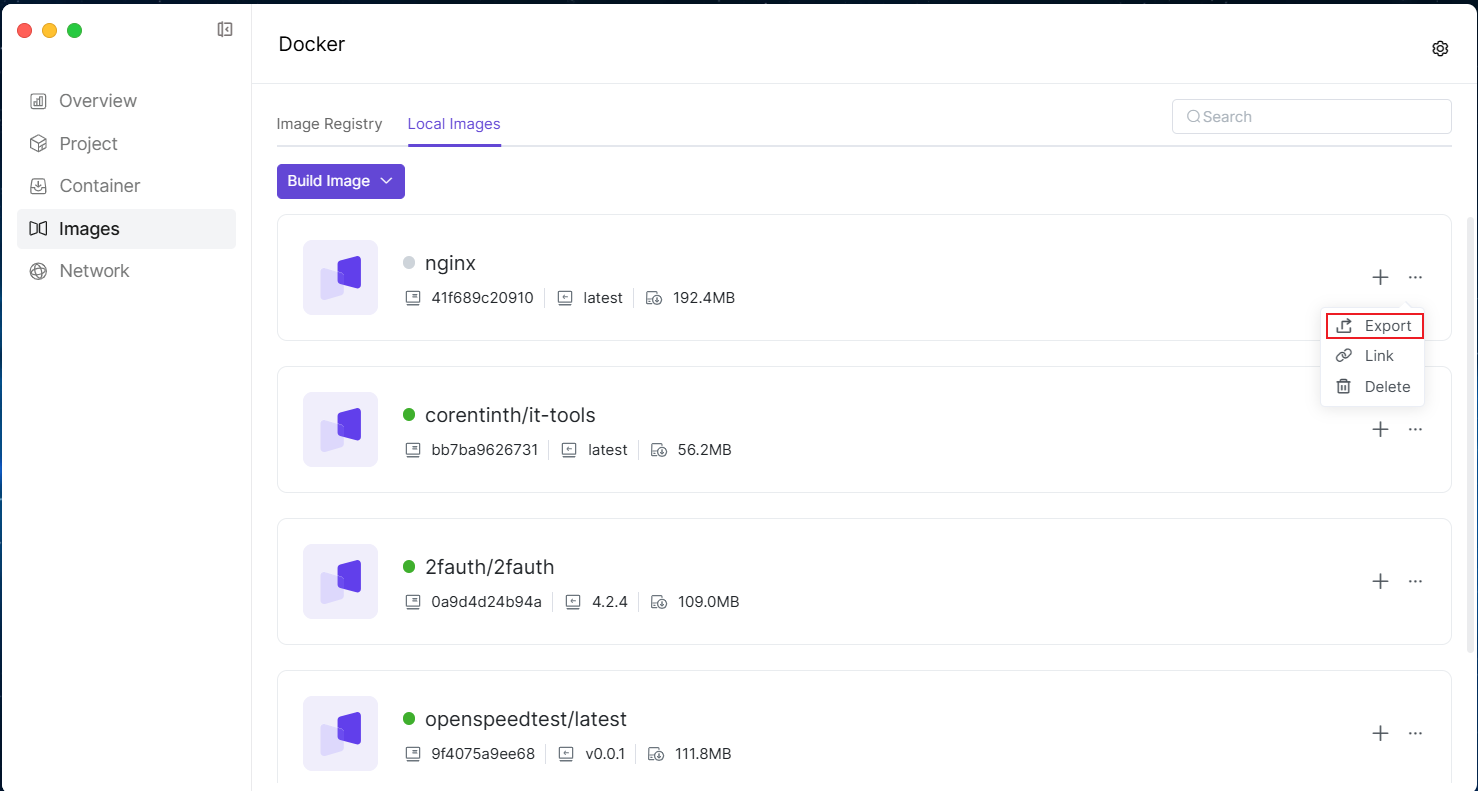 7.2 In the pop-up window, select the export path (storage location in NAS File Management). 7.3 Click "OK", and the image will be exported to the specified location.