TimeMachine Documentation
The screenshots and interfaces in this document are for reference only. The actual display effect may vary slightly depending on the system version or application version; some functions may be adjusted in different versions. Please refer to the actual user interface. Apple official documentation: Use Time Machine to back up your Mac;
Feature Introduction
Time Machine is a built-in file backup tool in macOS system that supports incremental backups of the entire system, applications, files, and system settings. When used with Zettlab NAS, it can centrally store historical snapshots of Mac devices to the NAS device, effectively avoiding risks caused by local device damage or data loss, and enabling rapid recovery of system and data.
Operation Steps
1. Enable Time Machine Function on NAS
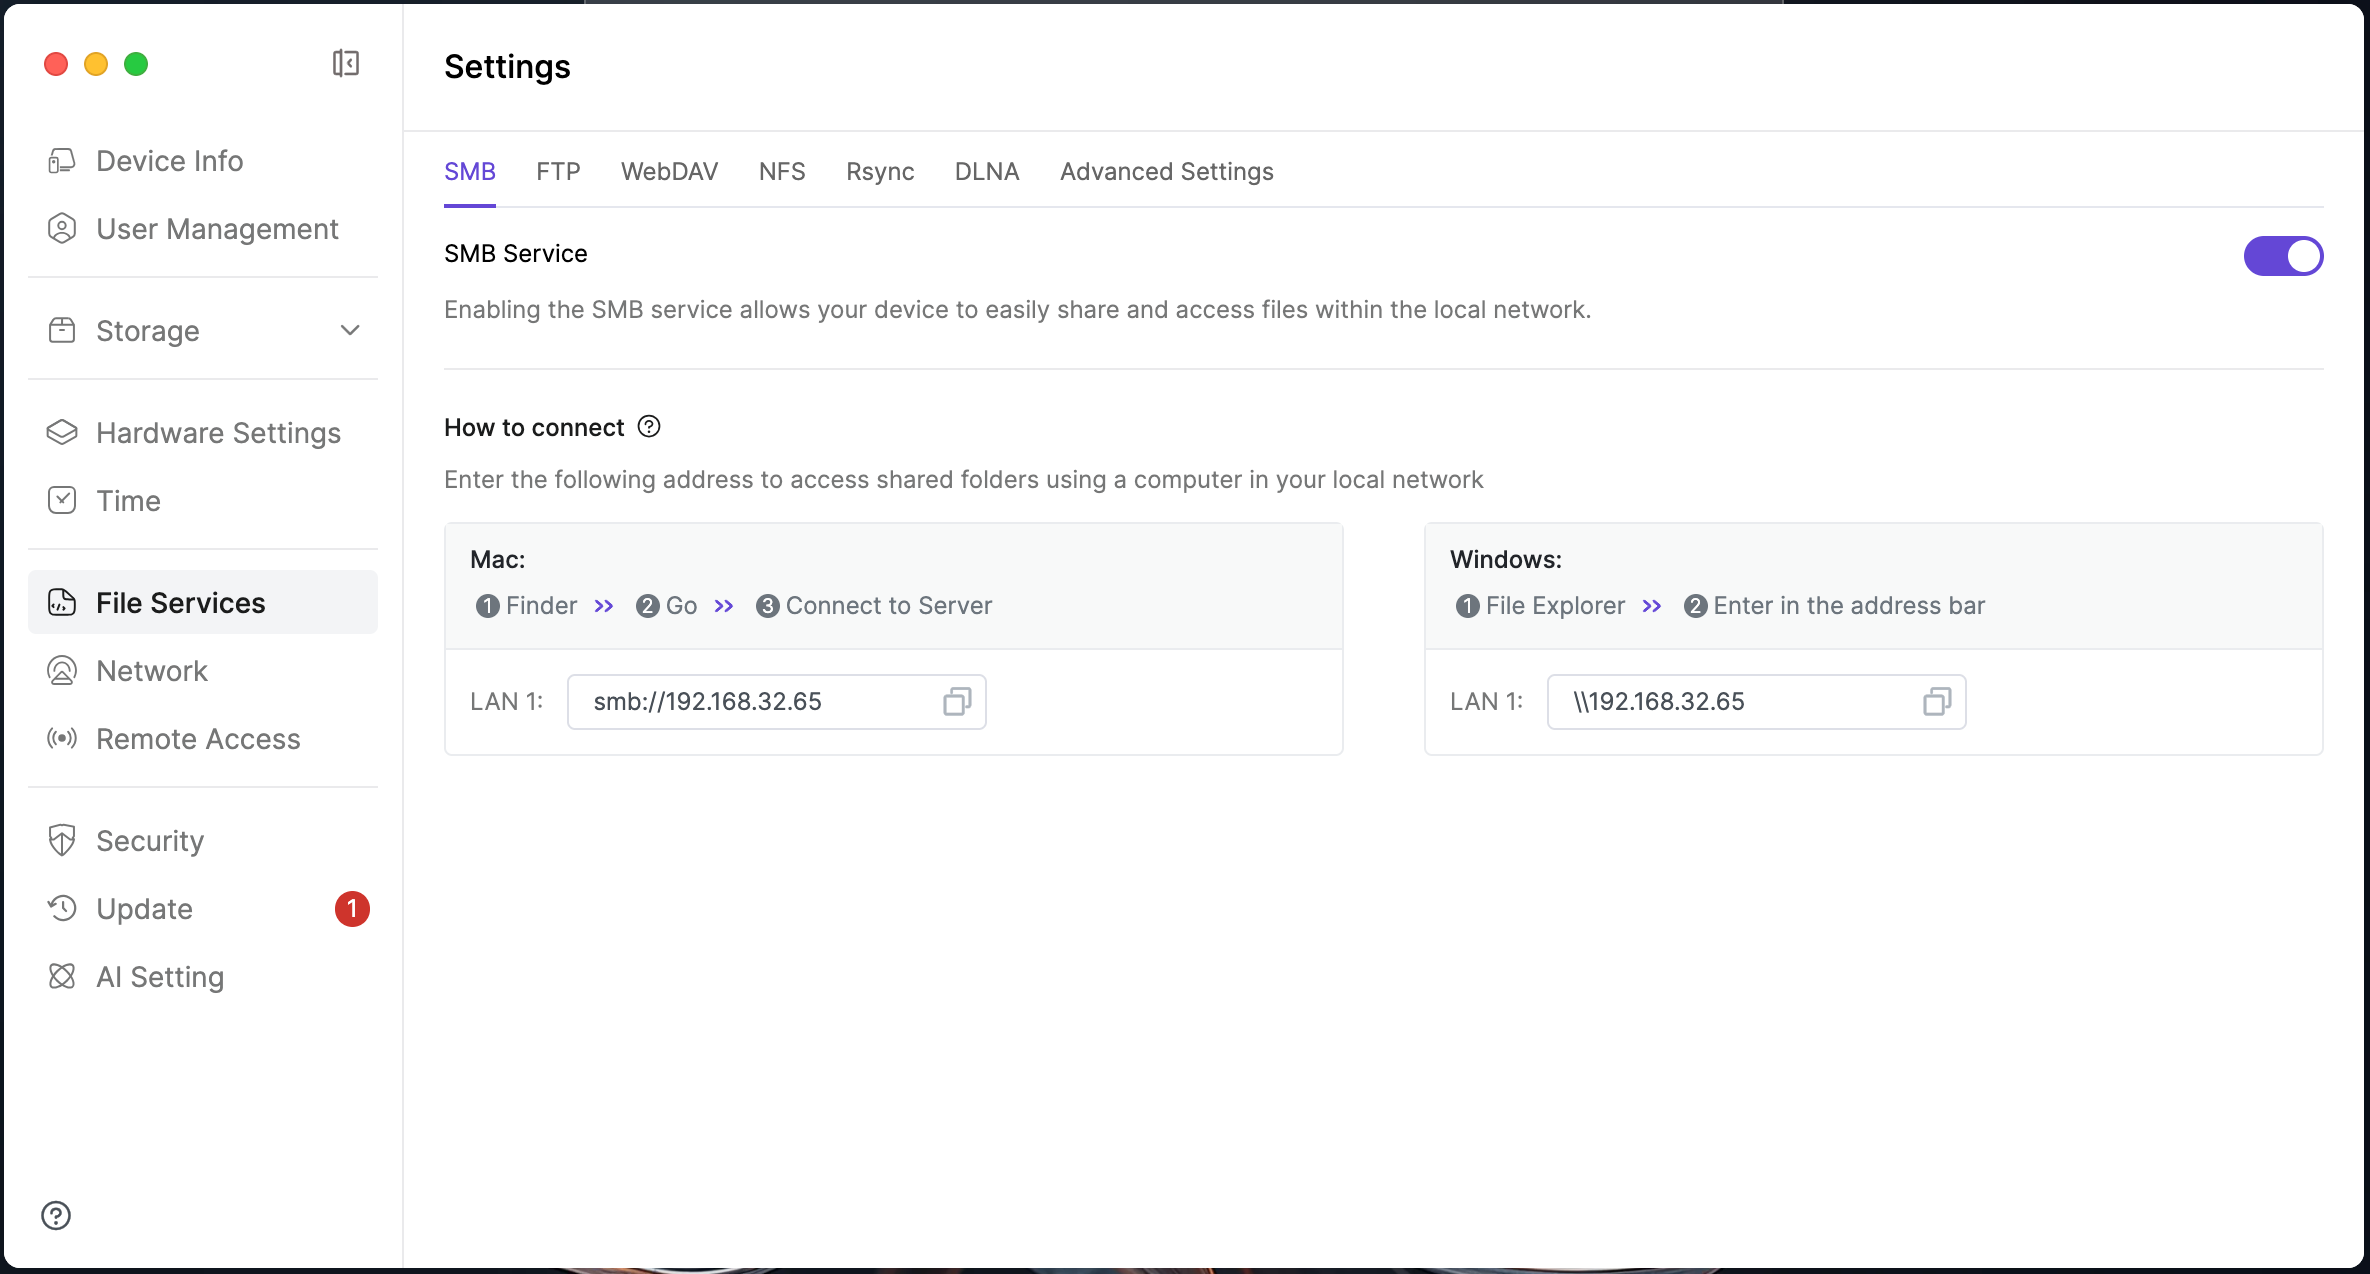
- Open the Settings application on Zettlab NAS, go to File Services > SMB option, and confirm that the SMB service is enabled.
- Switch to the Advanced Settings page and click to enable Bonjour service.
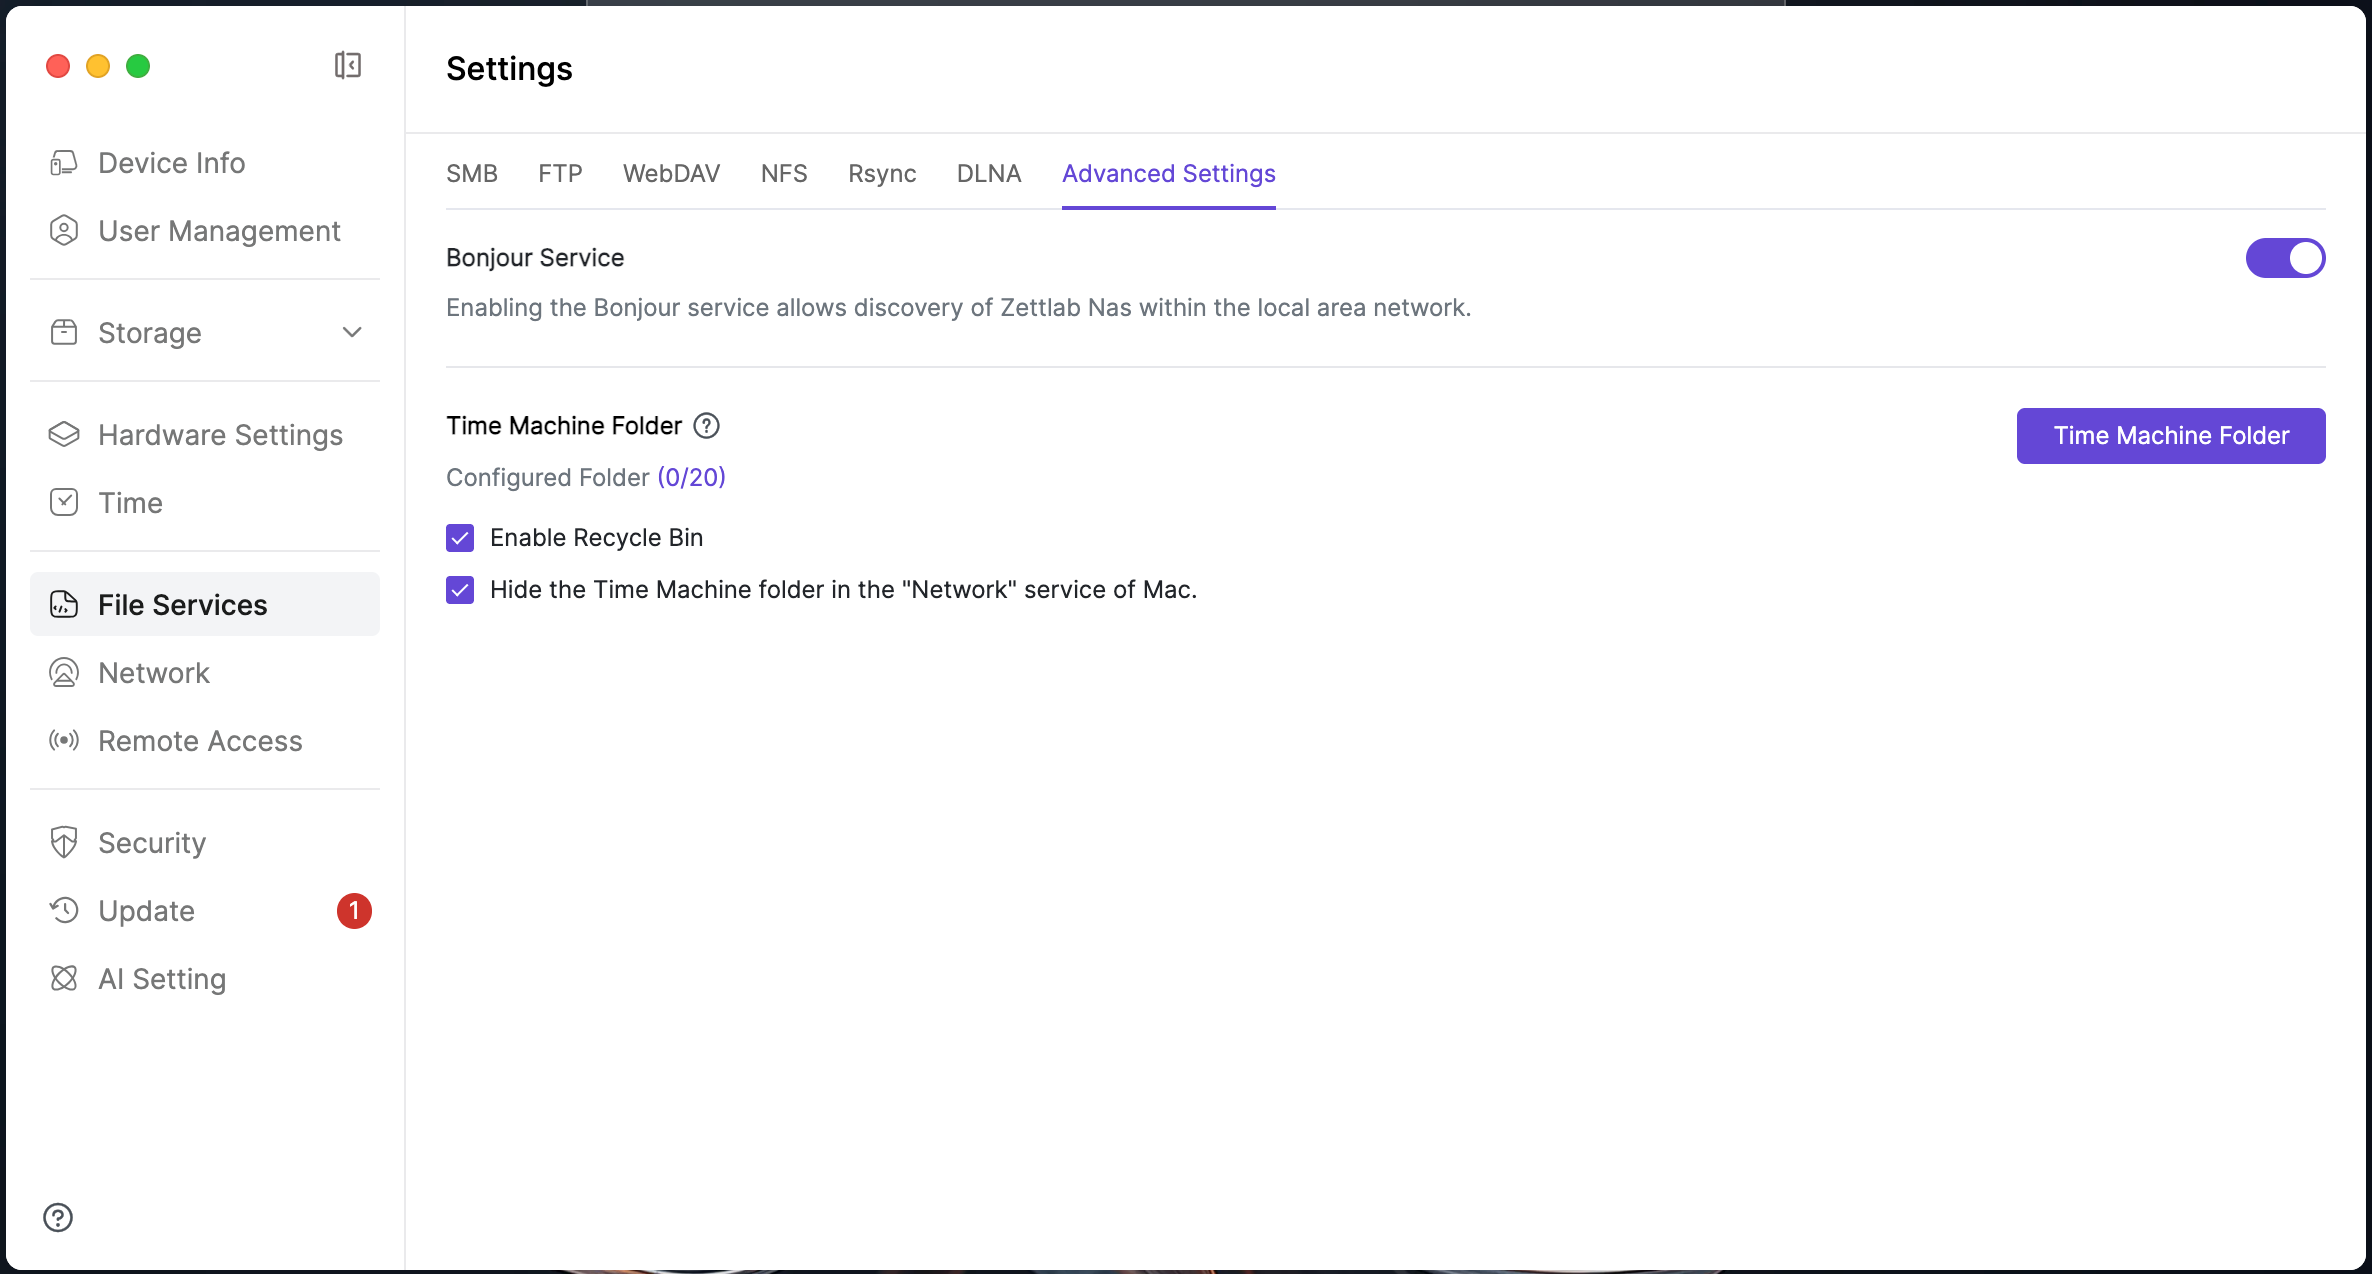
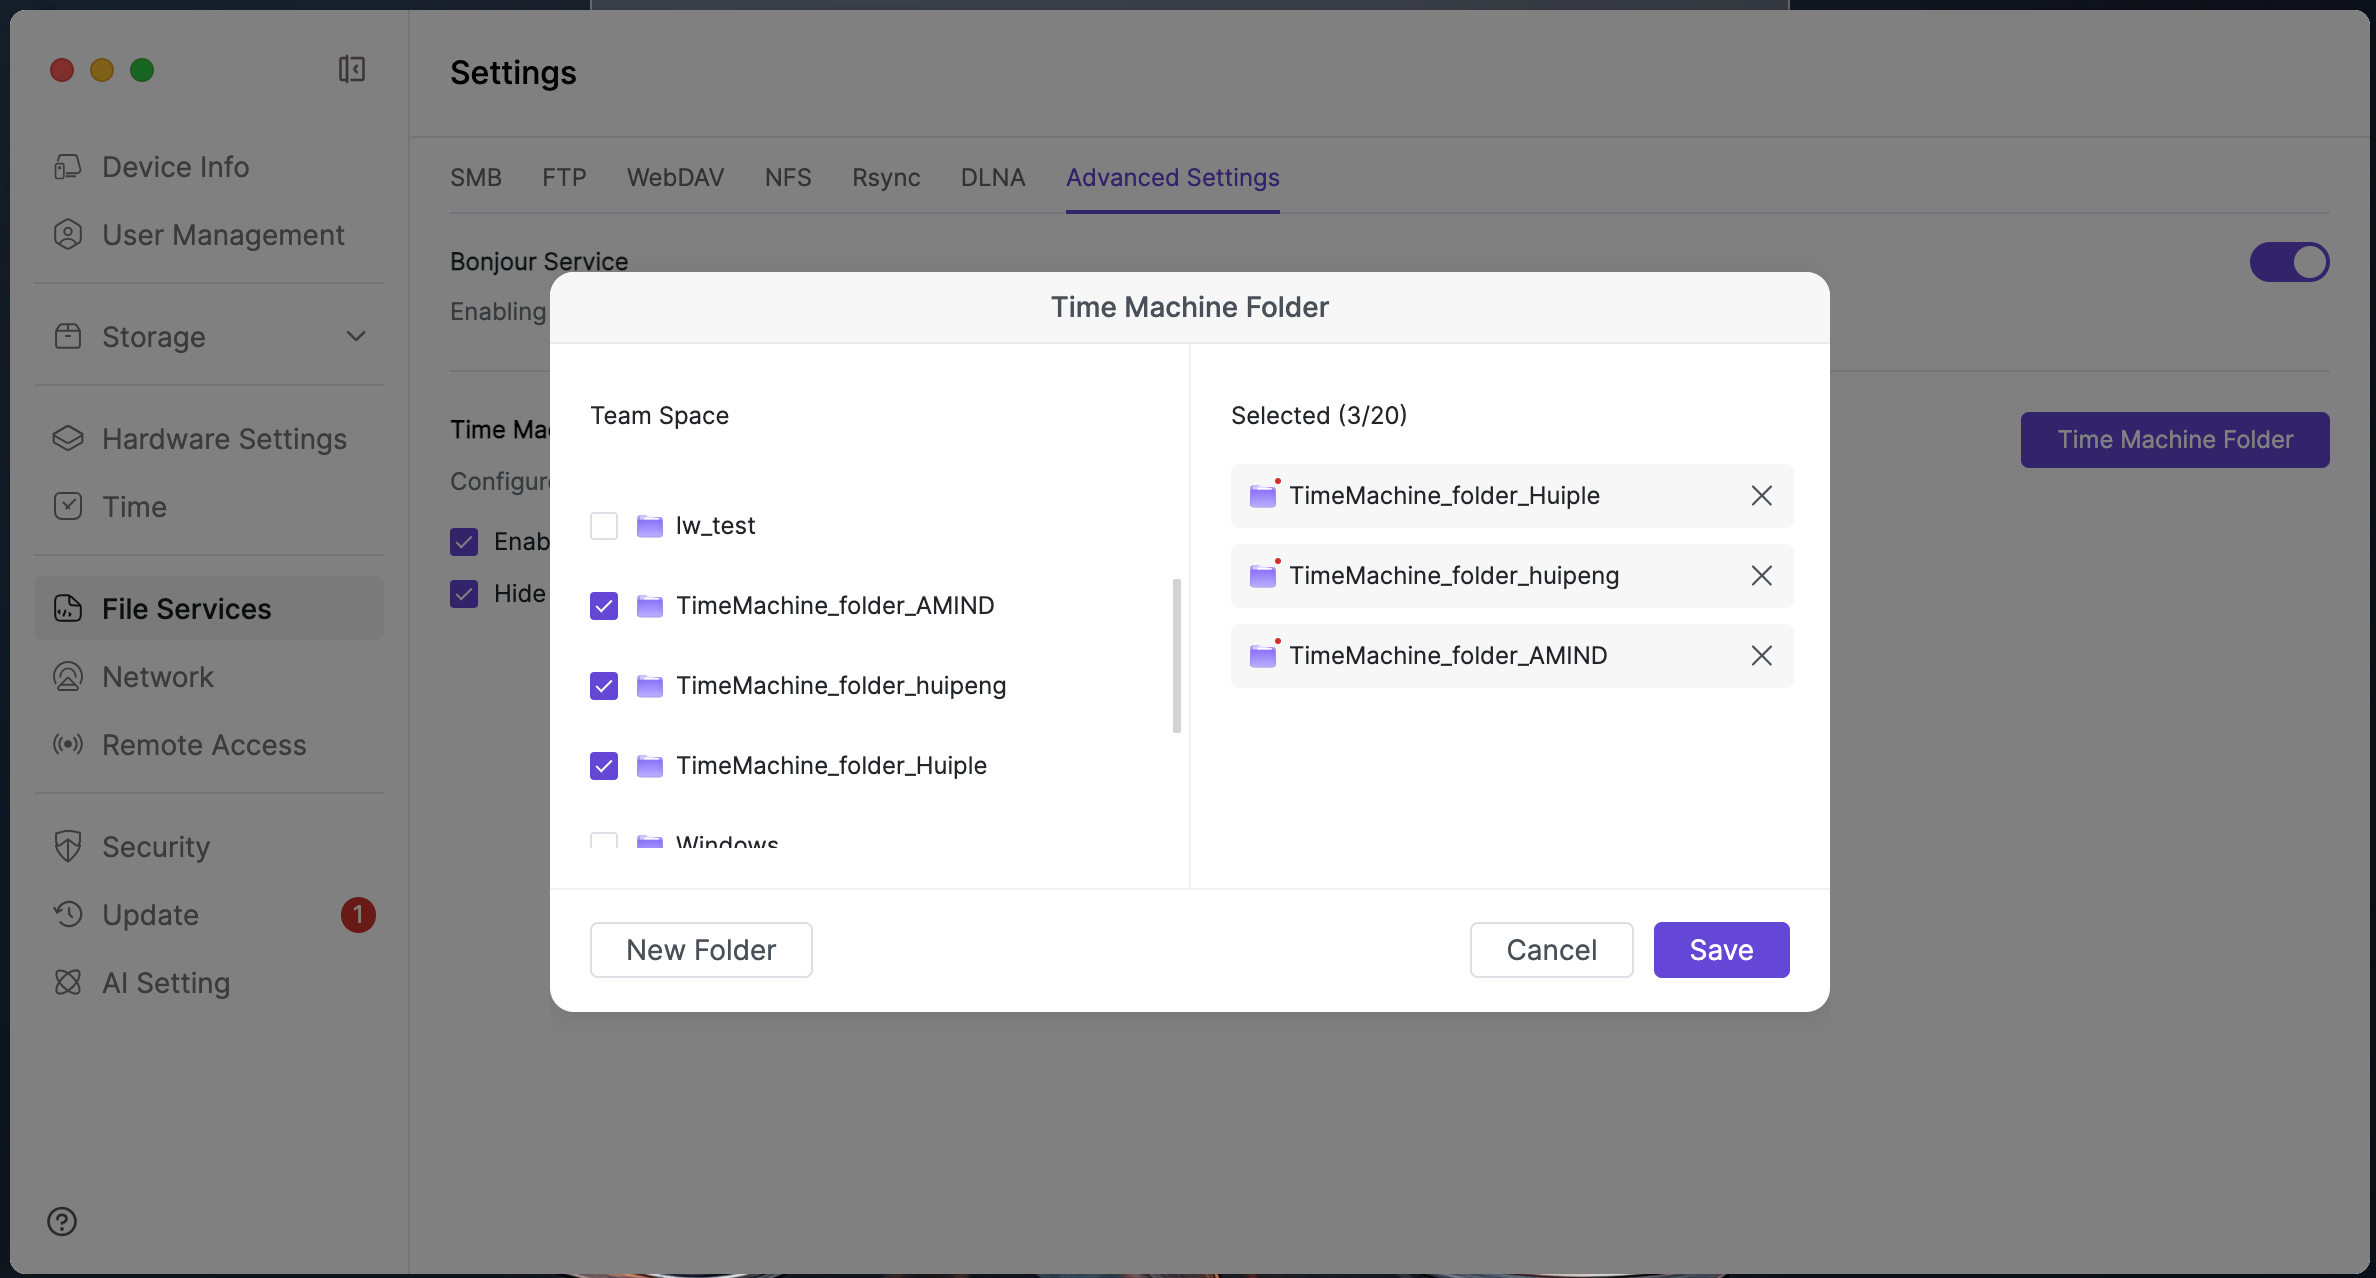
- Click Set Time Machine Folder, in the pop-up window select "Team Space Folder", or create a new team space folder as the backup directory, click Save to make the settings take effect (folder name is limited to 63 characters of letters, numbers, and underscores).
2. Connect to NAS Device Using Mac
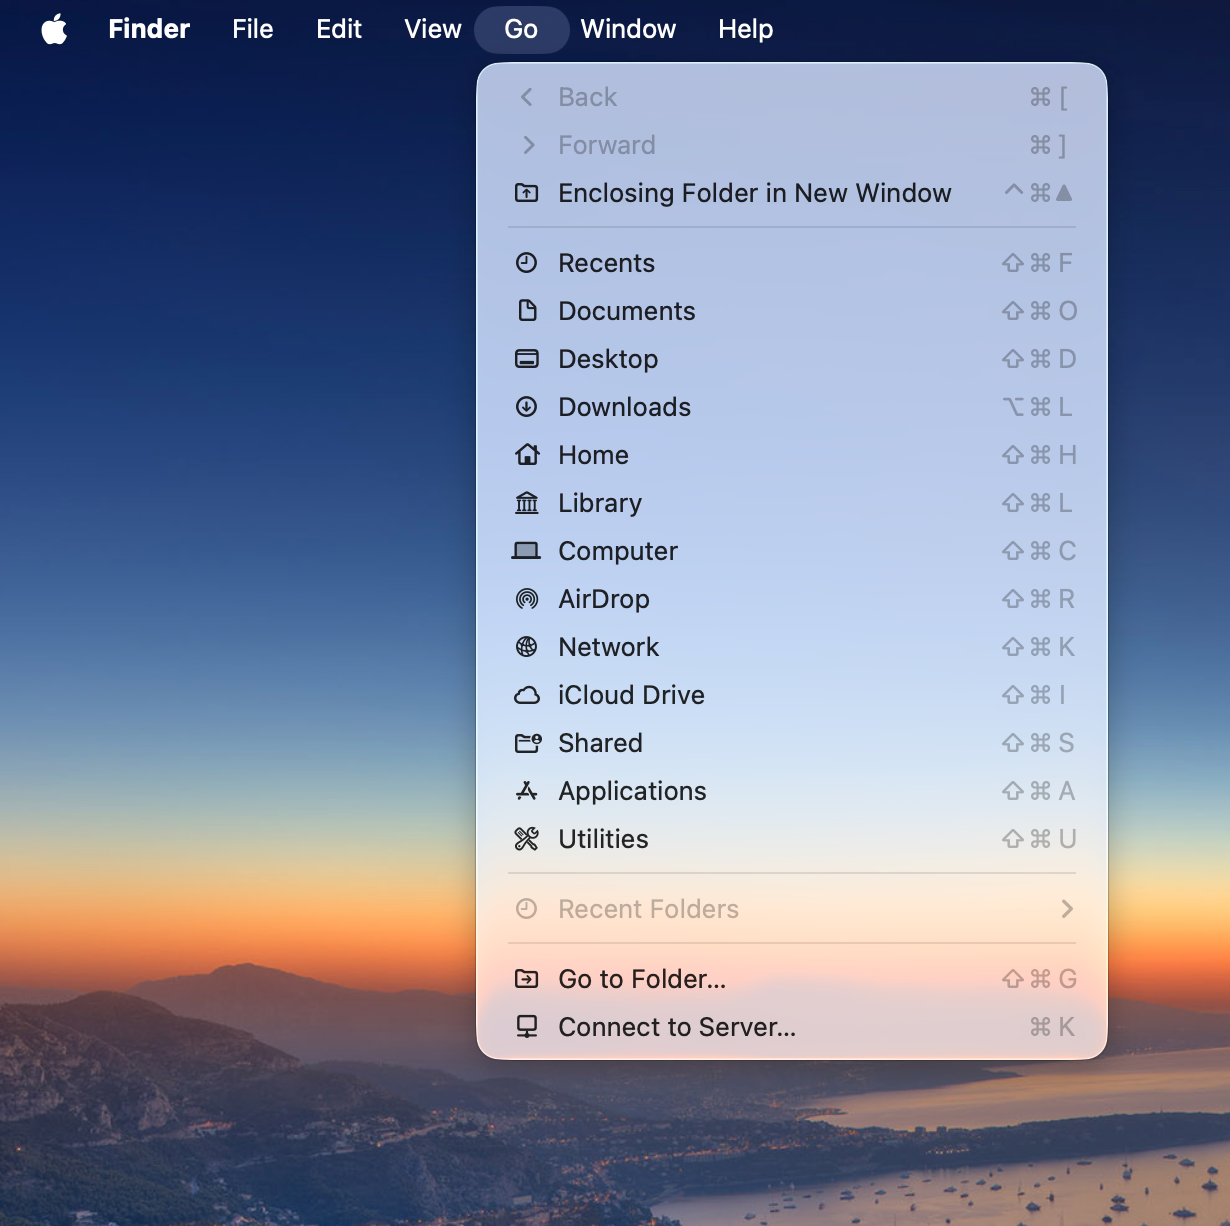
- Open Finder on Mac, click Go > Connect Server in the top menu bar.
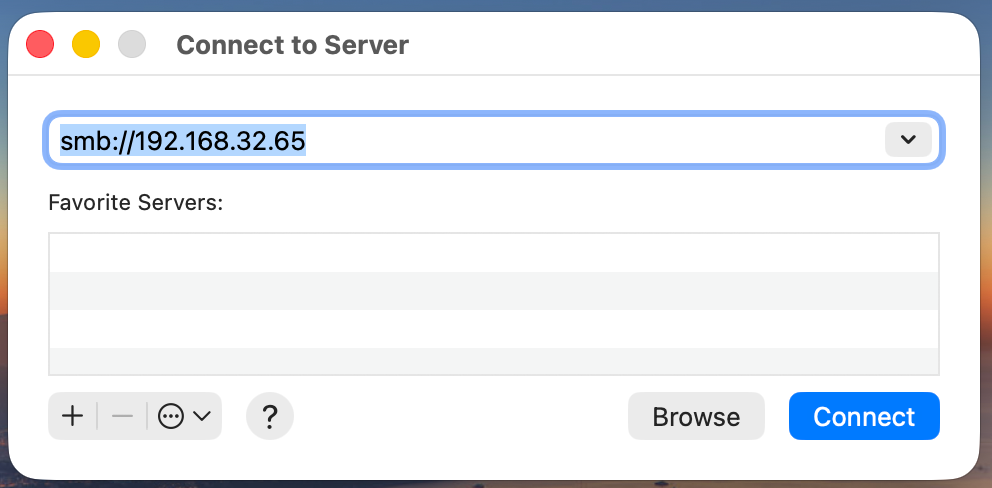
- Enter the access address of the NAS device, format example: smb://192.168.33.109;
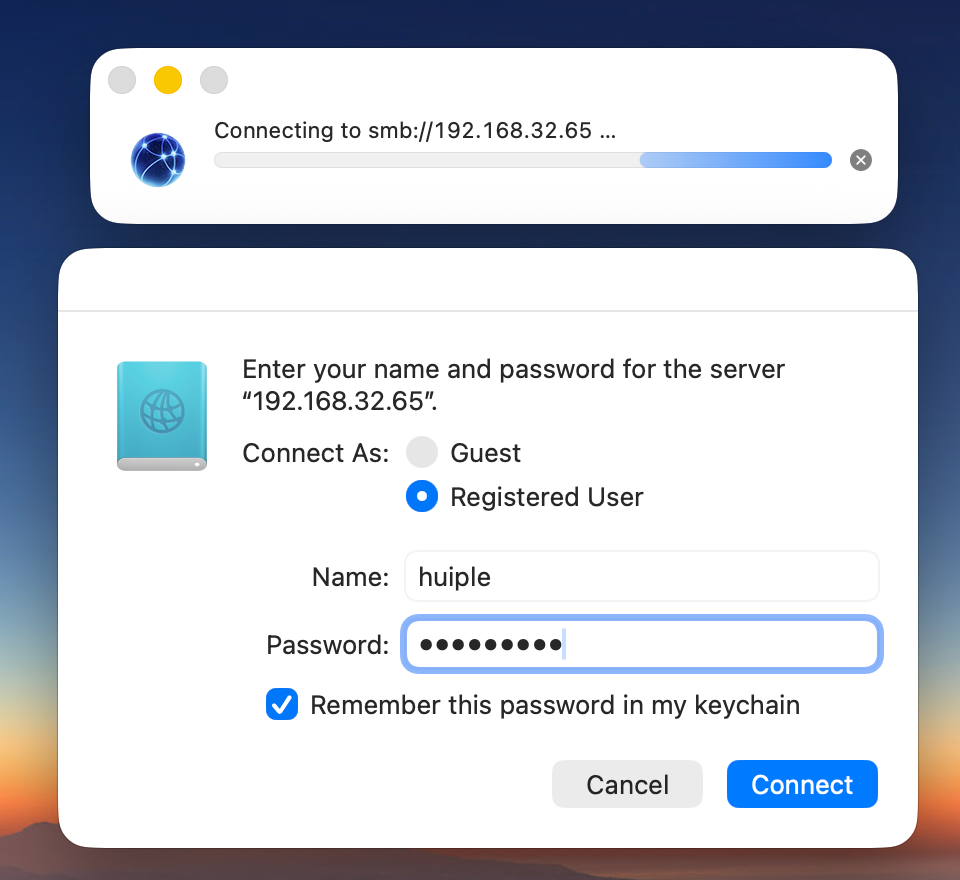
- Enter the username and password of the NAS device to complete login verification.
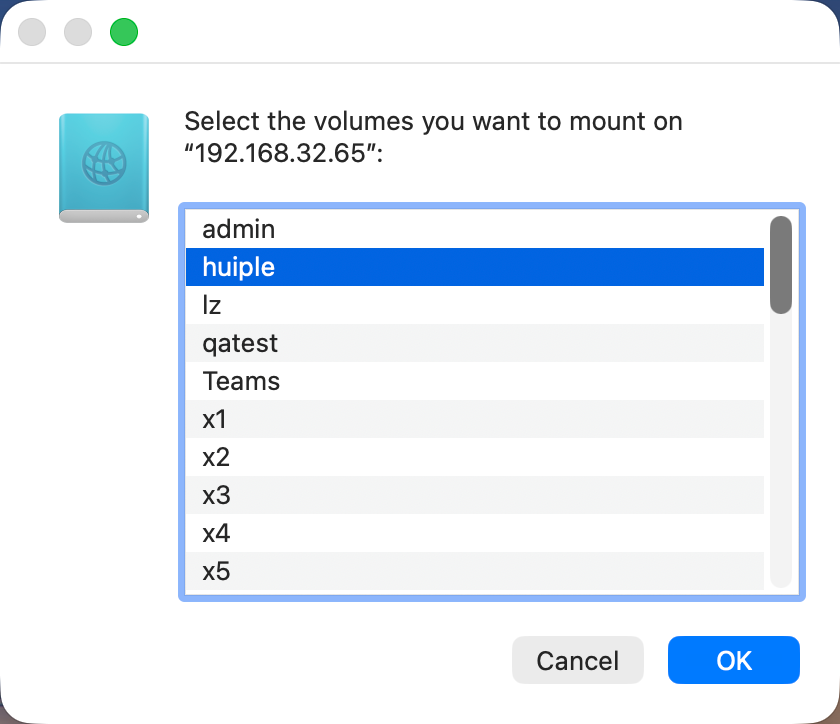
- Find the configured Time Machine folder in the NAS team space and mount it to the local Mac.
3. Configure Time Machine Backup on Mac
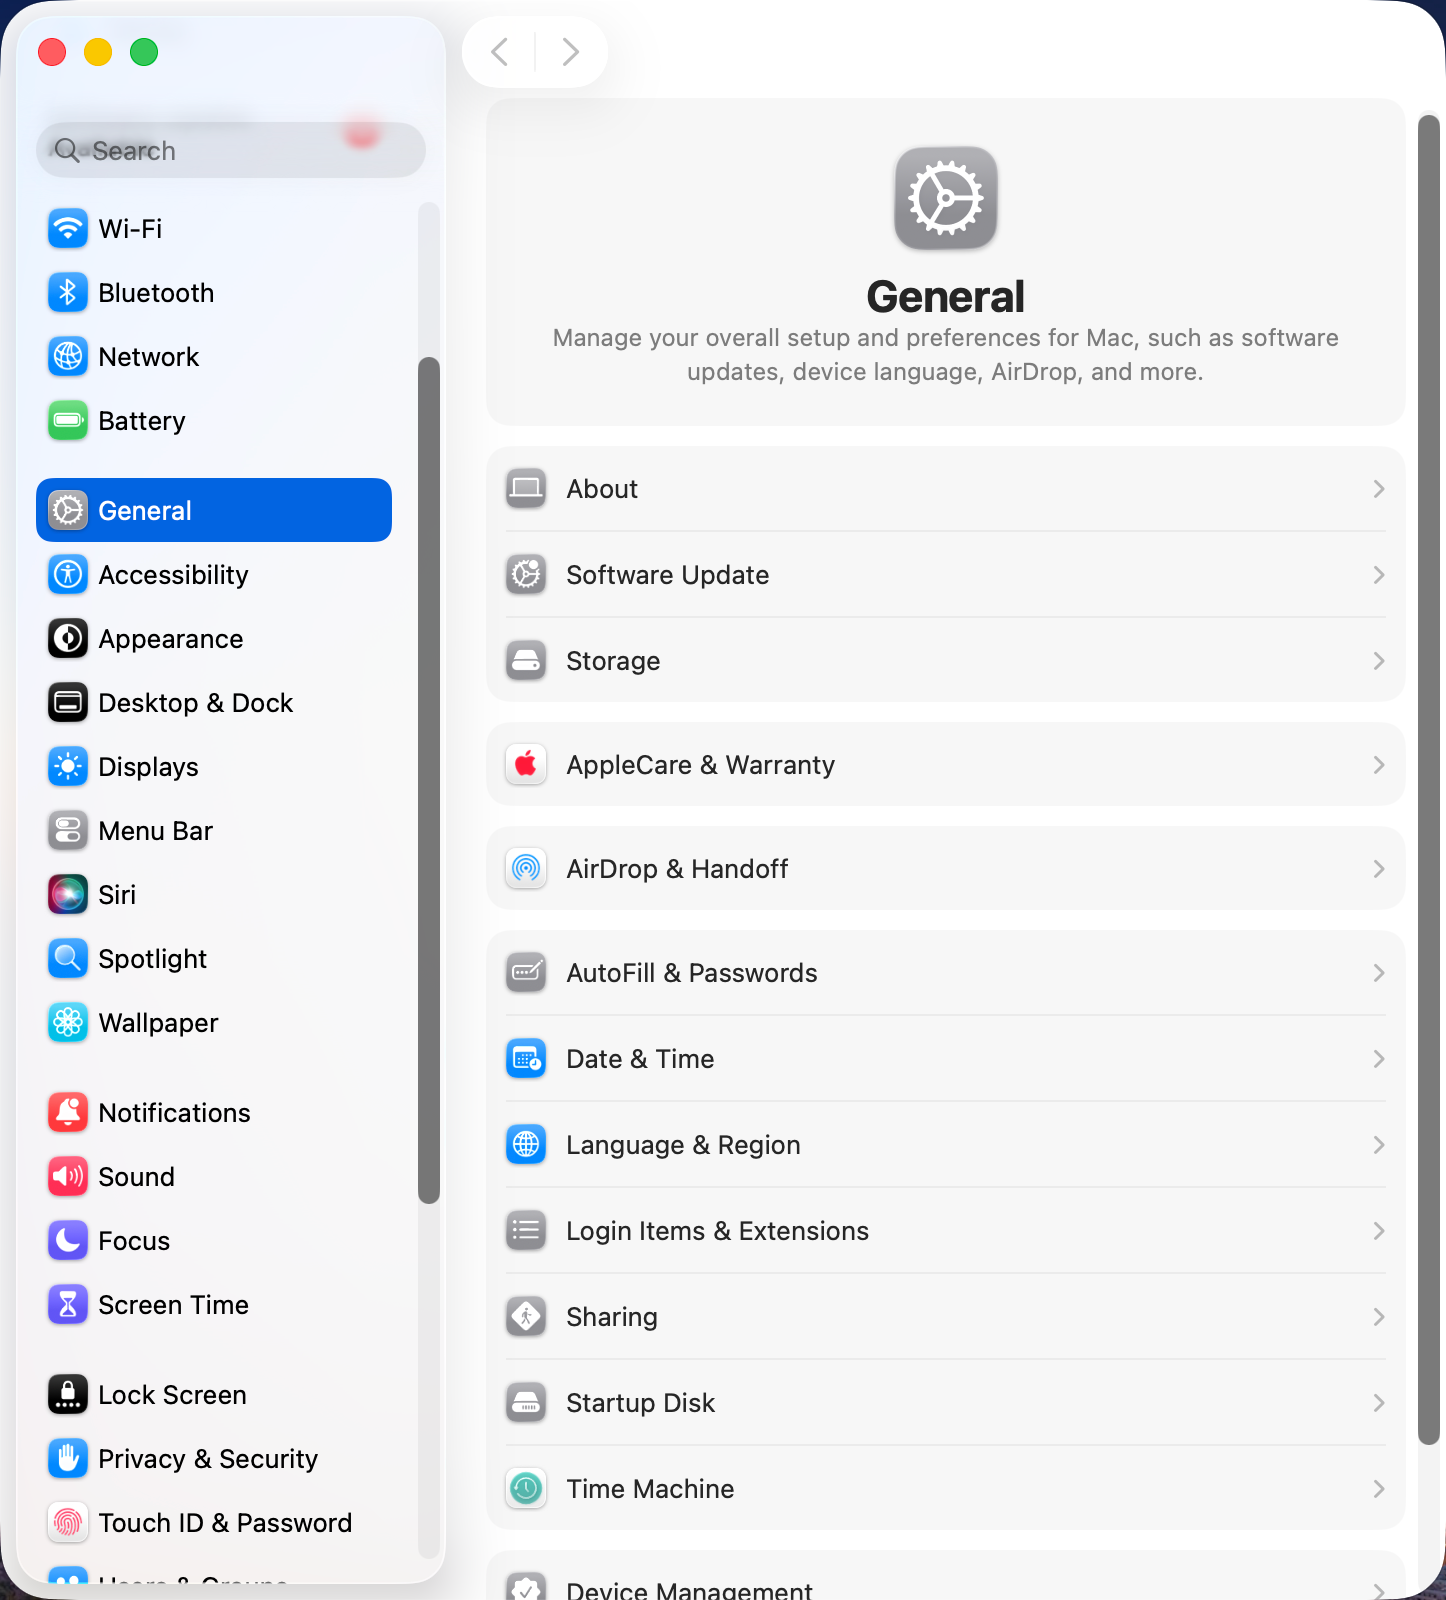
- Open System Settings > General > Time Machine on Mac.
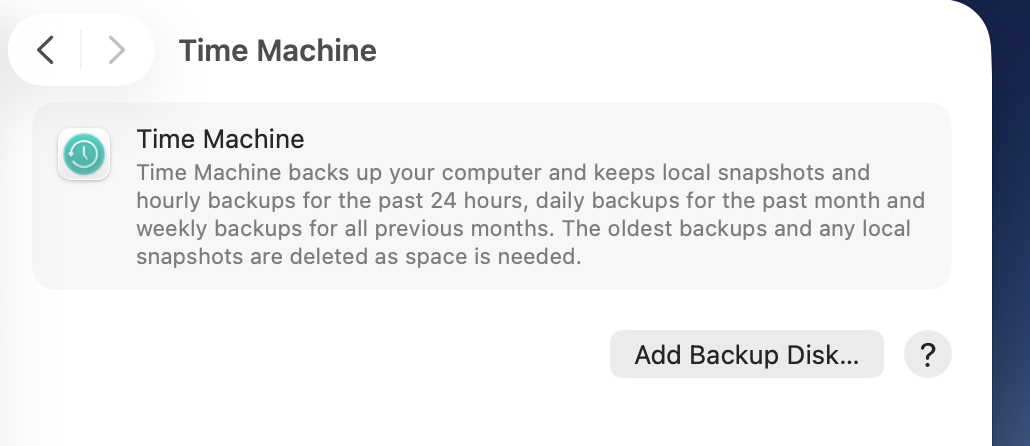
- Click Add Backup Disk, select the mounted TimeMachine folder on NAS in the device list, and click Set Up Disk.

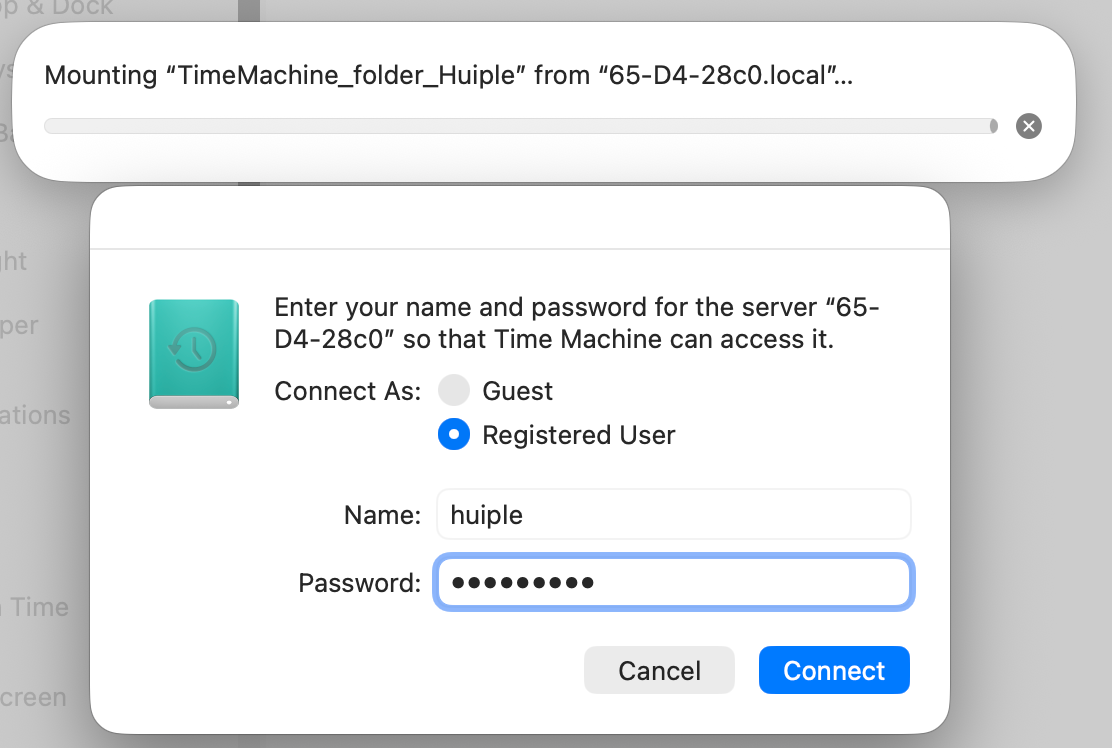
- Enter the NAS user account and password again to complete verification.
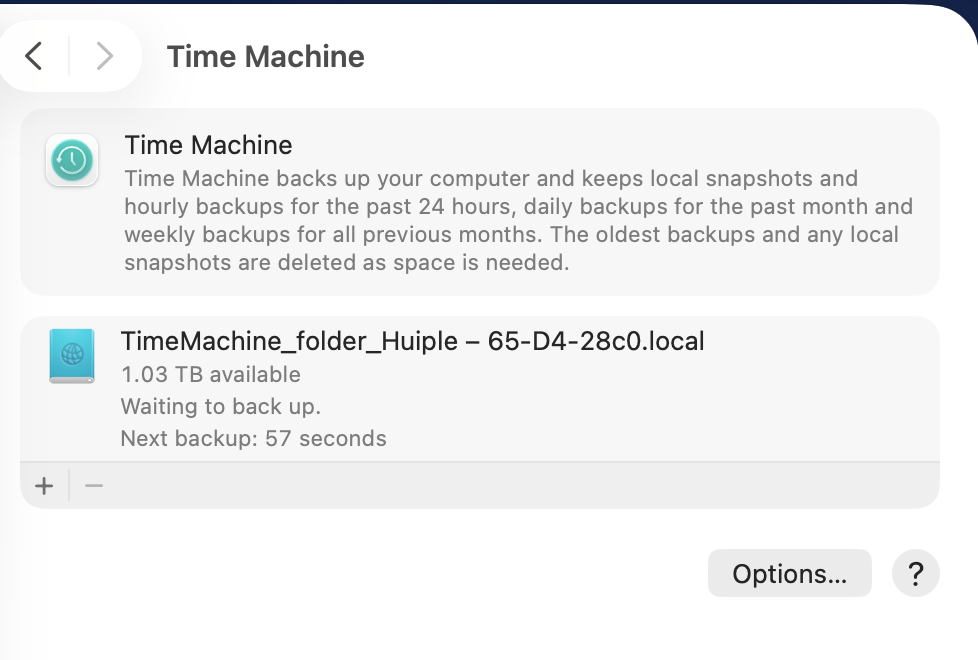
- Check the automatic backup option, the system will automatically perform the first full backup; subsequent backups are incremental backups, only synchronizing newly added or modified data.
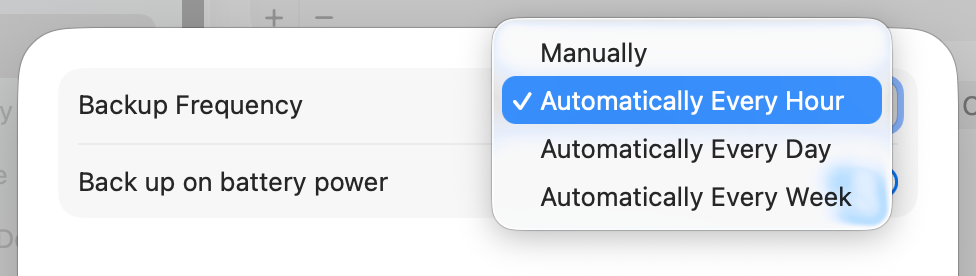
- Click Settings to set backup frequency.