Visual Machine
1. Getting Started
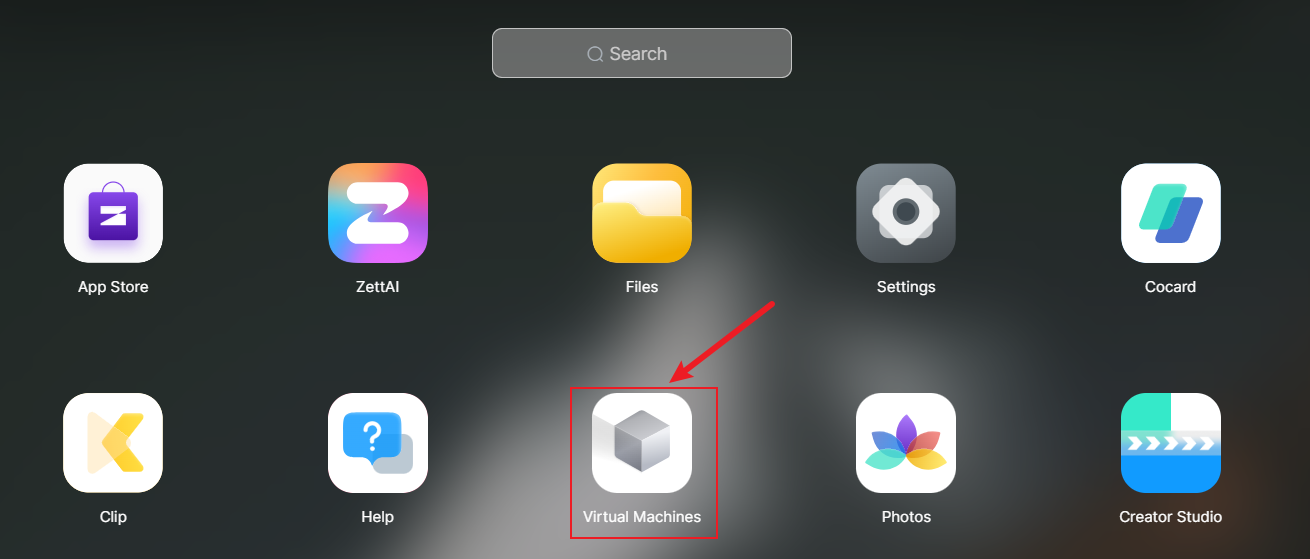
When using the virtual machine for the first time, you can open [Virtual Machine] in [Applications]. 
2. Virtual Machine Homepage
On the virtual machine page, you can conveniently manage created virtual machine instances, view their important information, and perform various management operations. Browse virtual machine instances: On the homepage, you can view detailed information of currently created virtual machine instances, including the current virtual machine's data storage location, system type, virtual machine name, and running status. Start virtual machine: Find the virtual machine instance you created on the virtual machine page, and click [Power On] in the virtual machine instance to start the virtual machine.  Access virtual machine: To access a virtual machine instance, select the running virtual machine instance and click [Connect].
  Manage virtual machine instances: After selecting a virtual machine instance, you can perform power control operations on it, including power on, power off, force power off, etc. Click [···] next to the virtual machine instance entry for more management operations, including modifying virtual machine configuration and deleting virtual machine operations.
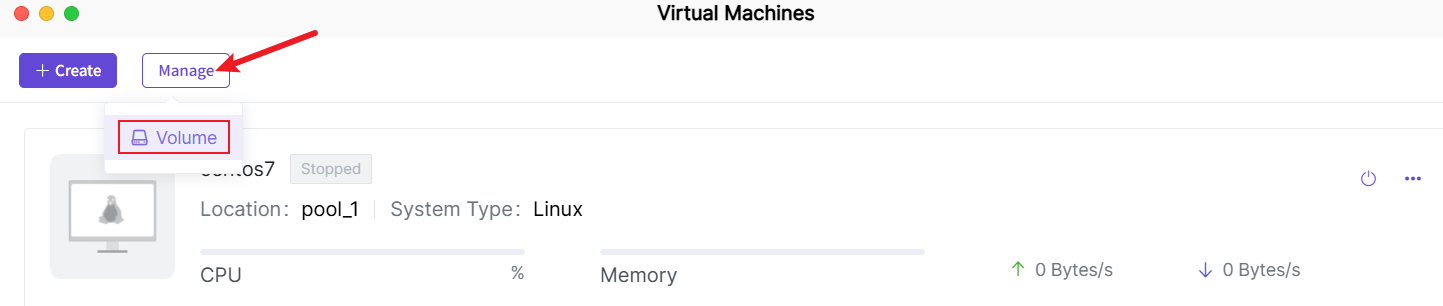
 Management operations: In the "Manage" option of the virtual machine application, you can perform the following operations:
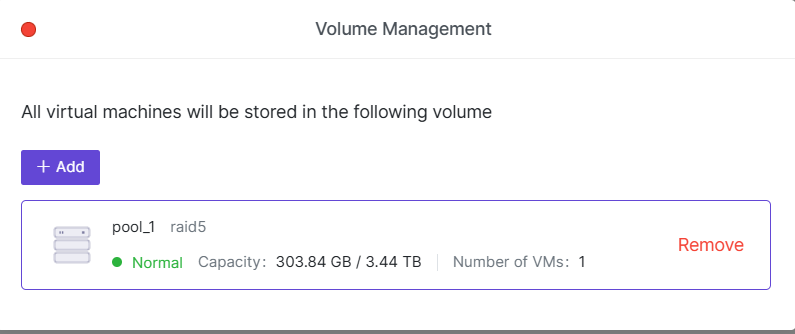
- Storage adjustment: Adjust the data storage location of the virtual machine instance.
3. Create Virtual Machine
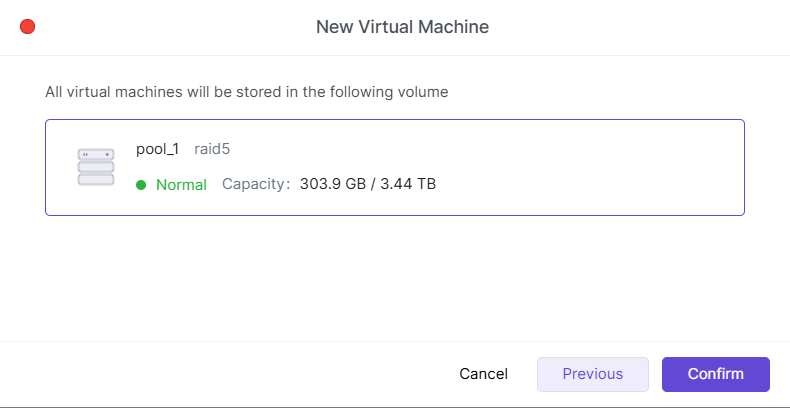
3.1 Click [Create] on the virtual machine homepage, select the image file, and then select the storage location.
 Friendly reminder: Currently only devices with X86_64 architecture support creating virtual machines. Devices with Arm architecture do not support creating virtual machines temporarily. Before creating a virtual machine, please confirm the CPU architecture of the device.
3.2 Complete the virtual machine creation wizard.
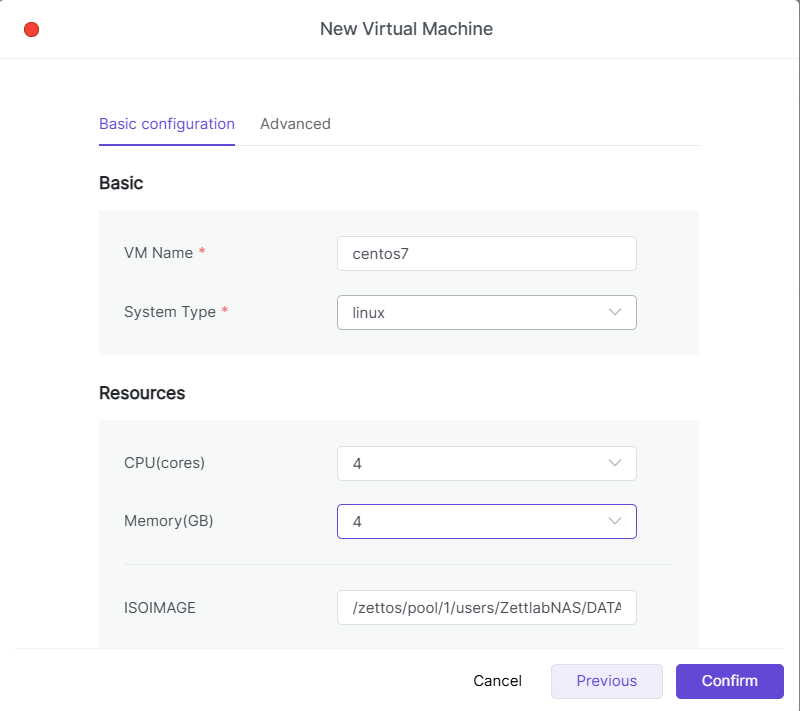
3.3 Confirm the system type configuration information, keep other settings as default. Click [Confirm] to create the virtual machine.
4. Network Adapter
The virtual machine's network adapter is the "intermediary" between the virtual machine and the outside world (such as local area network, internet, etc.). You can choose different types of adapters to control the network performance and compatibility of the virtual machine.
4.1 Virtio
An adapter optimized for virtual machines, providing better network performance and lower latency. If you want a high-performance virtual machine, especially for applications that require fast network transmission, using the Virtio adapter is the best choice.
4.2 E1000
Extremely compatible, almost all operating systems can support it.
5. Network Mode
The network connection mode determines how the virtual machine accesses external networks and whether it can be accessed by external devices.
5.1 VNET-NAT
If you don't want the virtual machine to be directly accessed by external devices, but the virtual machine still needs to access the internet or other devices on the local area network, you can choose the VNET-NAT mode.
5.2 VNET-Bridge
If you need the virtual machine and other devices on the local area network to access each other, and want the virtual machine to have an independent IP address, you can use the VNET-Bridge mode. This is the recommended mode for most daily use.
5.3 VNET-HOST
In this mode, the virtual machine can only communicate with the NAS and cannot connect to external networks. It is suitable for scenarios that require communication with dedicated internal applications on the NAS but do not need external network access.
6. Edit Virtual Machine
On the virtual machine homepage, click [Edit] to manage the virtual machine's basic information, resource configuration (such as disk, network), and device configuration, and adjust the virtual machine's performance and resource allocation as needed. 
6.1 Basic Configuration
In the virtual machine settings, users can modify the basic settings of the virtual machine according to personal needs, including virtual machine name, CPU and memory allocation, image and disk configuration, and network settings. The following are detailed explanations of each basic configuration:
6.1.1 Image Configuration
The image is the installation package of the virtual machine operating system. By configuring the image, you can install or run a specific operating system for the virtual machine. Images can be selected from the local image library. ● For example, you can use a Windows 10 image to install and run the Windows 10 system.
6.1.2 Disk Configuration
The virtual machine's disk is like the hard drive in a computer, used to store files and installed programs. You can add multiple disks to the virtual machine to store different content. ● For example, one disk is used to store system files (such as the Windows operating system), and another disk is used to store your data files. You can set up two disks in the virtual machine, so each disk has its own task without interfering with each other.
6.1.3 Network Configuration
The virtual machine's network configuration is like building a "bridge" for the virtual machine, allowing it to connect with other devices. Different configurations are suitable for different usage scenarios.
6.1.4 Network Adapter
The virtual machine's network adapter is the "intermediary" between the virtual machine and the outside world (such as local area network, internet, etc.). You can choose different types of adapters to control the network performance and compatibility of the virtual machine.
- Virtio: An adapter optimized for virtual machines, providing better network performance and lower latency. If you want a high-performance virtual machine, especially for applications that require fast network transmission, using the Virtio adapter is the best choice.
- E1000: Extremely compatible, almost all operating systems can support it.
6.1.5 Network Connection Mode
The network connection mode determines how the virtual machine accesses external networks and whether it can be accessed by external devices.
- VNET-NAT: If you don't want the virtual machine to be directly accessed by external devices, but the virtual machine still needs to access the internet or other devices on the local area network, you can choose the VNET-NAT mode.
- VNET-Bridge: If you need the virtual machine and other devices on the local area network to access each other, and want the virtual machine to have an independent IP address, you can use the VNET-Bridge mode. This is the recommended mode for most daily use.
- VNET-HOST: In this mode, the virtual machine can only communicate with the NAS and cannot connect to external networks. It is suitable for scenarios that require communication with dedicated internal applications on the NAS but do not need external network access.
6.2 Advanced Configuration
In advanced configuration, users can further adjust settings related to virtual machine hardware and startup to optimize virtual machine performance and user experience. The following are detailed explanations of each basic configuration:
6.2.1 Graphics Card
Graphics card configuration directly affects the graphics output capability of the virtual machine. Choosing the appropriate graphics card type can help you get better graphics performance, especially in scenarios that require graphics processing.
- Cirrus: Simulates old graphics cards to provide basic graphics processing capabilities. If you only run basic operating systems or virtual machines that do not require complex graphics, you can choose this graphics card.
- VGA: Traditional graphics adapter that provides basic VGA-compatible graphics output and can support basic display needs, suitable for most virtual machine scenarios.
- VMVGA: If the virtual machine needs more graphics processing capabilities (such as video playback, more complex interface rendering, etc.), the VMVGA graphics card is a better choice.
- VIRTIO: When the virtual machine needs to run some graphics-accelerated applications (such as games, graphic design software, video editing, etc.), choosing the VIRTIO graphics card can provide the best graphics performance.
- QXL: If you are running a Windows operating system in the virtual machine and need to improve graphics performance and user experience, it can significantly improve mouse smoothness and screen response speed.
6.2.2 Boot Type
The virtual machine's boot type determines how the operating system starts. ● BIOS is the traditional boot method with good compatibility. Most operating systems support BIOS boot, but it does not support large hard drives (such as 2TB and above) and some modern features. ● UEFI is the modern boot method that supports larger hard drives (2TB and above) and more features (such as secure boot).
6.2.3 Keyboard Language
The keyboard language setting determines the language and layout of keyboard input in the virtual machine.